Tutorial: Create and Manage Columns at Design Time
- 3 minutes to read
This walkthrough is a transcript of the Create and Manage Columns at Design Time video available on the DevExpress YouTube Channel.
In this tutorial, you will learn what columns are created by the grid automatically, how to use the grid’s integrated designer to manage the columns collection and how to bind columns to data fields.
Starting Point
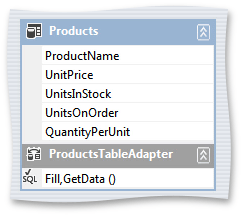
Start with a project that already has a grid control bound to a data source. As you can see, this data source is the Products table from the NorthWind database with just a few fields selected.
Default Behavior
Each time you bind your grid control to the required data, columns are created automatically - one for each data field in your data source. Thus, you will see that the grid now has the same columns as the fields you just saw in the bound data source.

Managing Columns Collection Using the Grid Designer
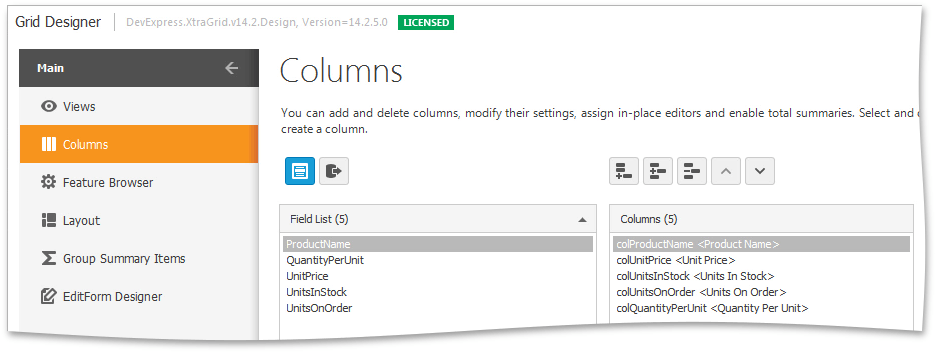
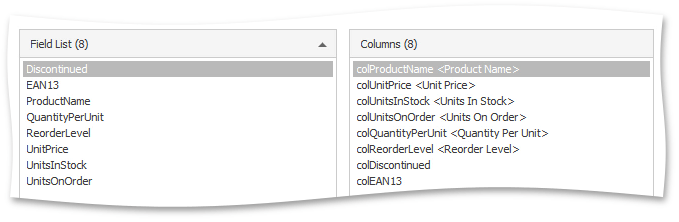
To add or remove columns, use the Grid Designer. Switch to the Columns tab to see two lists. The list on the left hand side displays data fields available in the bound data source and you can toggle this list’s visibility. The list on the right hand side is the grid View’s current column collection.
Removing Columns
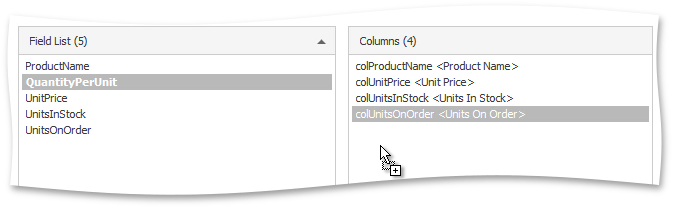
If you remove a column, the corresponding field is highlighted using bold font.

Creating Bound Columns
You can then drag that field onto the columns list to automatically create a bound column.
Creating and Manually Binding Columns
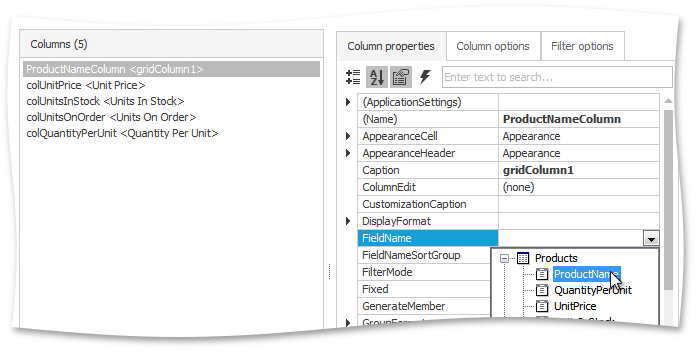
You can also create a column and then manually specify its name that will be used to access it in code. To bind it to a data field, use the GridColumn.FieldName property.
Retrieving All Data Fields
The Retrieve Fields button
 can also come in handy. It clears the column collection and then creates bound column for every data field, much like when you first bind the grid to data. To illustrate this, modify the query so it includes data fields that were not originally used. The grid View’s column collection remains the same.
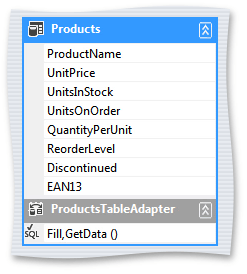
Switch to the Columns section of the Grid Designer and click the Retrieve Fields button. All of newly added fields are now retrieved and a grid column for each of them is created.
Run the application and see that all columns have been created, including those just added to the data source.