Lesson 1 - Automatically Generate Outlook-Inspired and Hybrid User Interfaces From Entity Framework
- 5 minutes to read
This lesson describes how to generate Outlook-Inspired and Hybrid user interfaces from an Entity Framework Code First data model. The DevExpress.OutlookInspiredApp EF data model only and DevExpress.HybridApp EF data model only projects can be used as a starting point for this tutorial, as they already contain the Entity Framework data model and code that fills the database with sample data.
Note
To learn how to create an application using Scaffolding Wizards from the scratch, see the first lesson of the Building Office-Inspired Applications tutorial.
Step 1 - Data Structure
Both sample projects contain several classes representing a simple CRM data model.

All data model objects are inherited from the base DatabaseObject class that provides the primary key property and implements the IDataErrorInfo interface:
public abstract class DatabaseObject : IDataErrorInfo {
    /// <summary>
    /// Primary key property for all data model objects.
    /// See https://docs.microsoft.com/ef/ef6/modeling/code-first/conventions/built-in for more details.
    /// </summary>
    [ScaffoldColumn(false)] //Indicates that Scaffolding Wizards should not generate UI for editing and displaying this property
    public long Id { get; set; }
    #region IDataErrorInfo
    string IDataErrorInfo.Error { get { return null; } }
    string IDataErrorInfo.this[string columnName] {
        get {
            //Obtains validation attributes applied to the corresponding property and combines errors provided by them into one.
            //Since code generated by Scaffolding Wizards supports the IDataErrorInfo interface out of the box, the error will be displayed in UI.
            //The Save command will also be disabled until all errors are fixed.
            //To learn more about IDataErrorInfo support in Scaffolding Wizards, refer to the https://documentation.devexpress.com/#WPF/CustomDocument17157 topic
            return IDataErrorInfoHelper.GetErrorText(this, columnName);
        }
    }
    #endregion
}
If you compile and run the downloaded project for the first time, you will see a splash screen indicating that the sample data is being generated.
Step 2 - Generate the Outlook-inspired UI
First, make sure you have rebuilt the DevExpress.OutlookInspiredApp project, so the Scaffolding Wizard can find and analyze the Data Access layer represented by the DepartmentContext class.
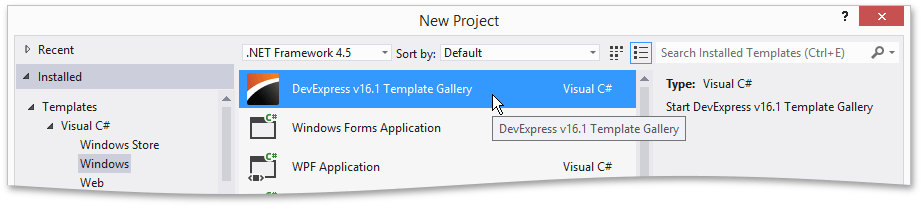
Right-click the project in Solution Explorer and select Add | New item. In the invoked New Item dialog, expand Templates | Visual C# and select the Windows category. Then, select the DevExpress Template Gallery item.
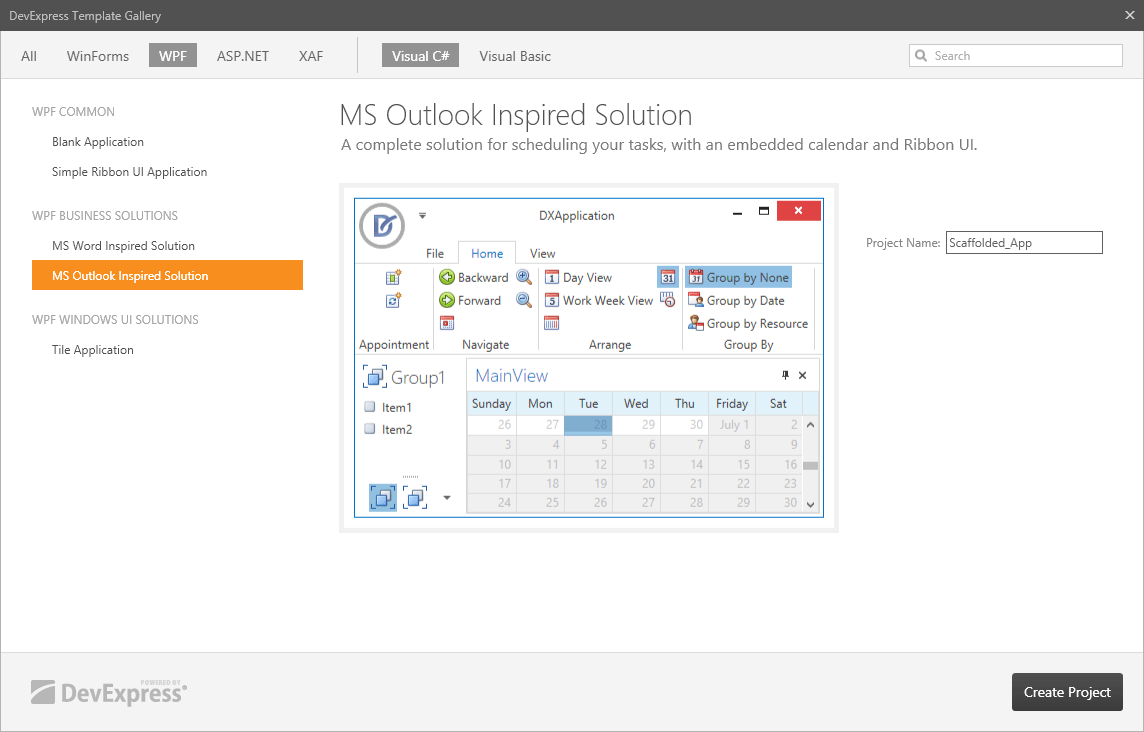
In the invoked DevExpress Template Gallery window, find and run the MS Outlook Inspired Solution template wizard.
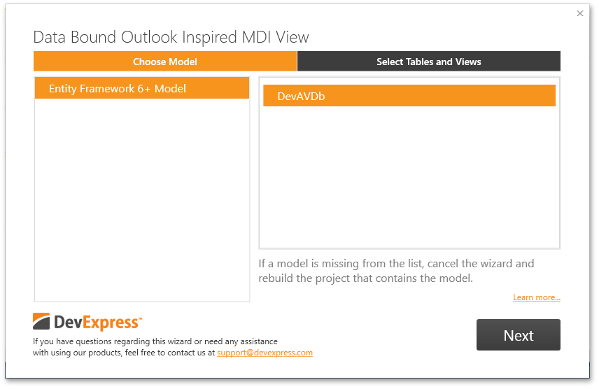
In the Scaffolding Wizard window, select the DevAVDb Entity Framework model and click Next.
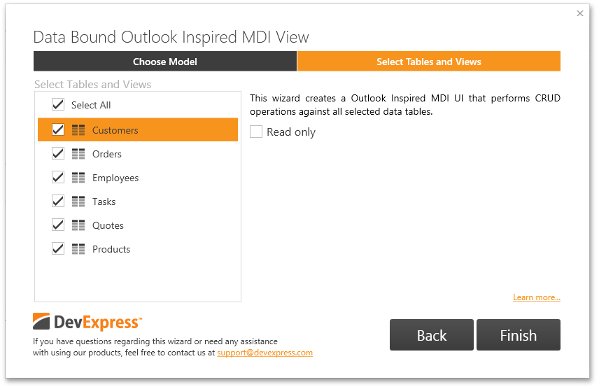
Follow the steps to complete building the Outlook Inspired MDI View as demonstrated in the screenshots below.
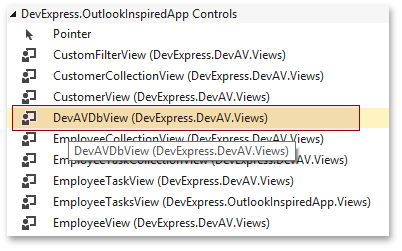
Rebuild the project. Drop the generated DevAVDbView user control (the root view for the generated Tabbed MDI UI) from the Toolbox onto the MainWindow.
Invoke the context menu on the dropped control and select the Layout/Reset All command.
The order and display names of modules in the UI are defined in the DevAVDbViewModel.CreateModules method.
protected override DevAVDbModuleDescription[] CreateModules() {
        return new DevAVDbModuleDescription[] {
            new DevAVDbModuleDescription("Customers", "CustomerCollectionView", TablesGroup, m => GetPeekCollectionViewModelFactory(m, x => x.Customers)),
            new DevAVDbModuleDescription("Orders", "OrderCollectionView", TablesGroup, m => GetPeekCollectionViewModelFactory(m, x => x.Orders)),
            new DevAVDbModuleDescription("Employees", "EmployeeCollectionView", TablesGroup, m => GetPeekCollectionViewModelFactory(m, x => x.Employees)),
            new DevAVDbModuleDescription("Tasks", "EmployeeTaskCollectionView", TablesGroup, m => GetPeekCollectionViewModelFactory(m, x => x.Tasks)),
            new DevAVDbModuleDescription("Quotes", "QuoteCollectionView", TablesGroup, m => GetPeekCollectionViewModelFactory(m, x => x.Quotes)),
            new DevAVDbModuleDescription("Products", "ProductCollectionView", TablesGroup, m => GetPeekCollectionViewModelFactory(m, x => x.Products)),
        };
    }
Change it as shown in the code snippet below.
protected override DevAVDbModuleDescription[] CreateModules(){
        return new DevAVDbModuleDescription[] {
            new DevAVDbModuleDescription("Employees", "EmployeeCollectionView", TablesGroup, GetPeekCollectionViewModelFactory(x => x.Employees)),
            new DevAVDbModuleDescription("Customers", "CustomerCollectionView", TablesGroup, GetPeekCollectionViewModelFactory(x => x.Customers)),
            new DevAVDbModuleDescription("Products", "ProductCollectionView", TablesGroup, GetPeekCollectionViewModelFactory(x => x.Products)),
            new DevAVDbModuleDescription("Sales", "OrderCollectionView", TablesGroup),
            new DevAVDbModuleDescription("Opportunities", "QuoteCollectionView", TablesGroup),
        };
    }
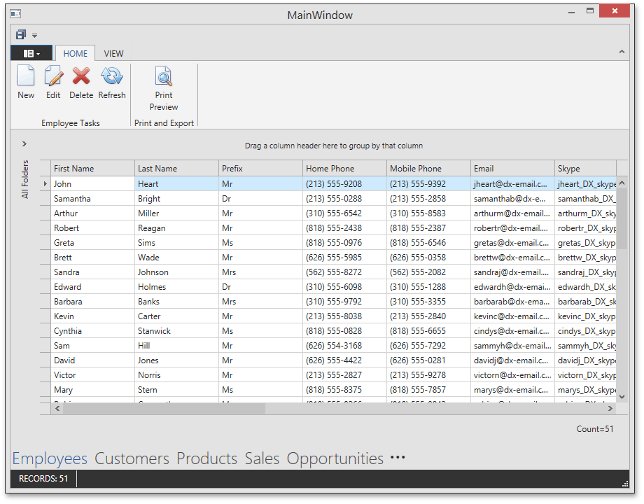
Run the application.
Step 3 - Generate the Hybrid UI
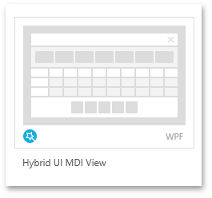
To generate the Hybrid UI, perform the same actions as described in the previous step with DevExpress.HybridApp and select the Hybrid UI Mdi View wizard in the DevExpress Template Gallery.
Change the order and display names of modules in the UI in the DevAVDbViewModel.CreateModules method and specify the second module as the startup module:
const string MyWorldGroup = "My World";
    const string OperationsGroup = "Operations";
    protected override DevAVDbModuleDescription[] CreateModules() {
        var modules = new DevAVDbModuleDescription[] {
            new DevAVDbModuleDescription("Tasks", "EmployeeTaskCollectionView", MyWorldGroup),
            new DevAVDbModuleDescription("Employees", "EmployeeCollectionView", MyWorldGroup),
            new DevAVDbModuleDescription("Products", "ProductCollectionView", OperationsGroup),
            new DevAVDbModuleDescription("Customers", "CustomerCollectionView", OperationsGroup),
            new DevAVDbModuleDescription("Sales", "OrderCollectionView", OperationsGroup),
            new DevAVDbModuleDescription("Opportunities", "QuoteCollectionView", OperationsGroup)
        };
        return modules;
    }
    protected override DevAVDbModuleDescription DefaultModule {
        get { return Modules[1]; }
    }
Run the application.
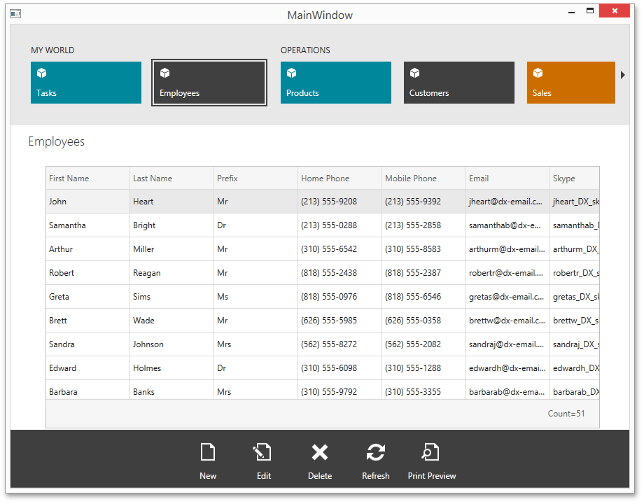
Step 4 - Result
Scaffolded applications provide a lot of functionality out of the box. In the following lessons of this tutorial, you will extend them to match specific requirements.
To learn more about the application structure Scaffolding Wizards generate, refer to the Structure of Classes in a Scaffolded Application topic.