Lesson 2 - Create Separate Ribbon Pages for the Spreadsheet
- 2 minutes to read
This document describes how you can add a ribbon UI to the WPF Spreadsheet to provide end-users with a familiar Office-inspired interface with rich spreadsheet functionality.
Note
The mechanism of ribbon generation described in this document is outdated and retained for backward compatibility. The newly created WPF Spreadsheet application already contains the integrated ribbon with all available ribbon pages and a formula bar in v17.1 and higher. This makes the XAML markup compact and more readable. You can customize the integrated ribbon user interface by adding new ribbon elements, modifying or removing the existing ones. Refer to the Lesson 4 - Customize the Integrated Ribbon UI for the Spreadsheet topic for example.
This tutorial consists of the following sections:
Create a Spreadsheet Application
- Create a new WPF Application project and open the MainWindow.xaml file in the Visual Studio Designer.
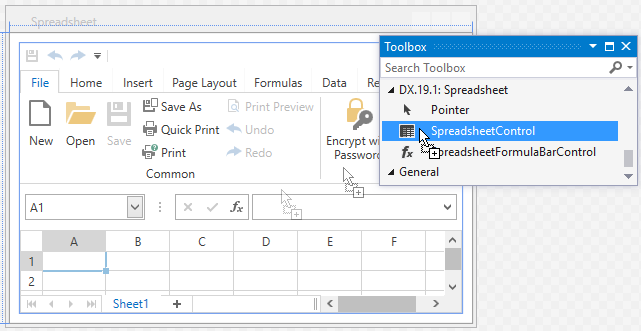
Add the SpreadsheetControl object to your project. You can do this by dragging the SpreadsheetControl item from the DX.19.1: Spreadsheet Toolbox tab to the canvas.
- Right-click the SpreadsheetControl object and select Layout | Reset All in the context menu to stretch the SpreadsheetControl so that it fills the entire window.
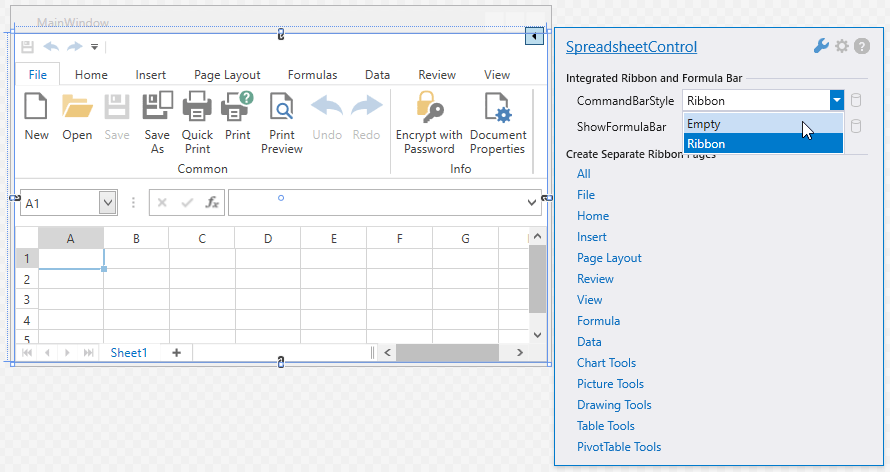
Click the SpreadsheetControl’s smart tag. In the invoked menu, under Integrated Ribbon and Formula Bar, select Empty from the CommandBarStyle drop-down list to disable the integrated ribbon UI.
Create Ribbon Pages
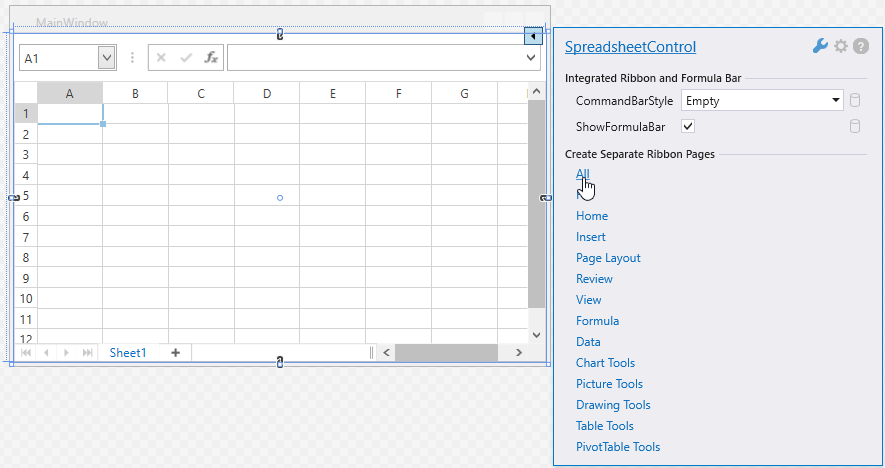
To create separate ribbon pages, click the SpreadsheetControl’s smart tag, and in the invoked menu, under Create Separate Ribbon Pages, select the ribbon pages you wish to add to your application or click All to display all available spreadsheet ribbon pages at once.
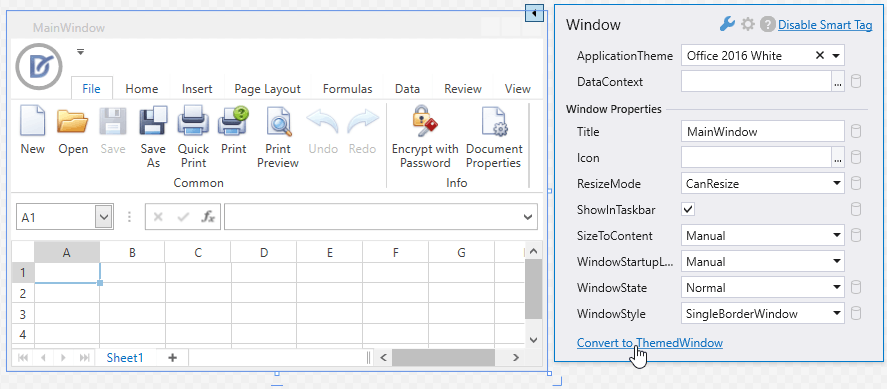
Convert the Window to ThemedWindow. To do this, click the Window’s smart tag and select the Convert to ThemedWindow task.
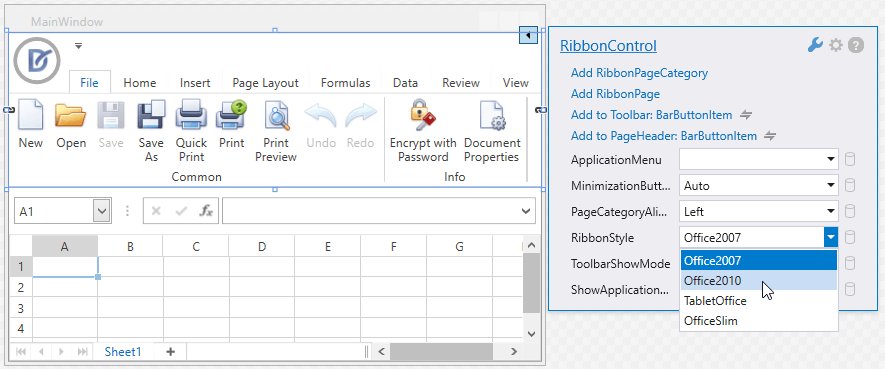
Change the Ribbon Style by clicking the RibbonControl’s smart tag and setting the RibbonStyle property to Office 2010.
View the Result
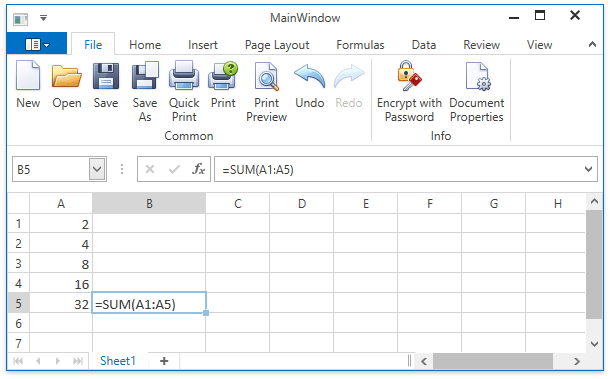
Run the project. The following image illustrates the result:
Note
Commands executed via the Bar (Ribbon) user interface can throw unhandled exceptions if a problem occurs. Consider the situation when a document is being saved to a locked or read-only file. To prevent application failure, subscribe to the SpreadsheetControl.UnhandledException event and set the SpreadsheetUnhandledExceptionEventArgs.Handled property to true.