Lesson 3 - Use Your Grid Control's Layout to Create a Report
- 3 minutes to read
This tutorial describes how to use the DXPrinting library for WPF to implement a tabular report based on the content and structure of a GridControl.
To create a report based on the content of the grid control, do the following.
- Create a New Project and Provide Data
- Create a Grid and Bind it to Data
- Create a Report
- View the Result
Create a New Project and Provide Data
- Start Microsoft Visual Studio (2008, 2012, 2013, 2015, 2017 or 2019).
Start a new project by pressing CTRL+SHIFT+N. In the invoked New Project dialog, select WPF Application, enter the name of the application, and click OK.
- Implement the data source. In this tutorial, use the same data source implementation that you used in Lesson 1 - Create Your First Report.
Create a Grid and Bind it to Data
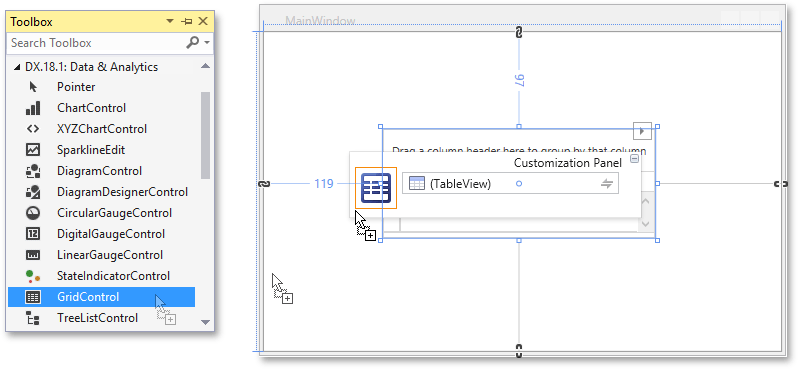
Open the Toolbox panel (by pressing CTRL+ALT+X), and drop the GridControl from the DX.20.2.Data & Analytics tab onto the form.
Handle the Loaded event of the main window. In the event handler, bind your grid to the data source and generate the column layout, as illustrated in the following code.
To format the displayed data, handle the GridControl.CustomColumnDisplayText event of the grid control.
The following code illustrates how to apply currency formatting to the UnitPrice column.
Create a Report
DXPrinting provides a special link type - PrintableControlLink - for printing the GridControl and the PivotGridControl.
To print the content of the grid control, add a button to the main form (named Print) and handle its Click event. In the event handler, create a printing link.
Unlike the previous lessons, where the document preview control was embedded into the main form, this tutorial will show you how to publish the resulting report in a separate document preview window created dynamically.
To do this, call the corresponding method of the PrintHelper class. The following code sample demonstrates how to use the PrintHelper.ShowRibbonPrintPreview method to show a print preview with a ribbon toolbar.
using DevExpress.Xpf.Printing;
// ...

private void Button_Click(object sender, RoutedEventArgs e) {
    // Create a printing link.
    PrintableControlLink link = new PrintableControlLink((TableView)GridControl1.View);

    // Show a preview.
    PrintHelper.ShowRibbonPrintPreview(this, link);
}
View the Result
You are now ready to create a report that reflects the structure of the data as shown in the grid control. Run the application…
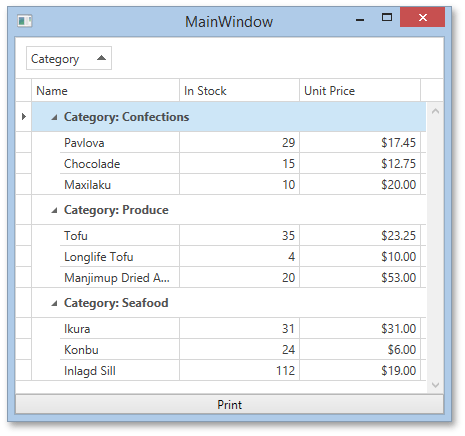
…and click Print to view the document preview. The report is displayed in a new window.
