How to: Print a Scheduler Using Reports from a Document Preview Window
- 5 minutes to read
This example illustrates how to create a printable report based on the Scheduler view.
This approach utilizes the Visual Studio Report Designer to create a report containing controls designed to represent Scheduler elements. The report is loaded into the Document Preview window which enables the end-user to print the report or export it to PDF.
This guide consists of the following sections:
- Add a Scheduler Report to the Application
- Load a Report from a Template
- Create a Report from Scratch
- Display the Report
Steps 1-3. Add a Scheduler Report to the Application
- Open the project that contains the SchedulerControl in the Visual Studio Designer.
In the PROJECT menu, select Add DevExpress Item -> New Item… to invoke the DevExpress Template Gallery dialog. Select the Scheduler Report template.
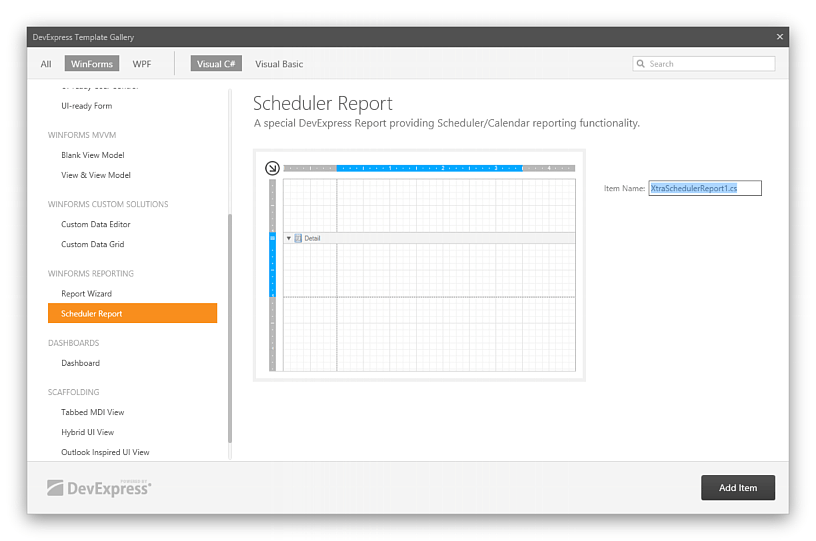
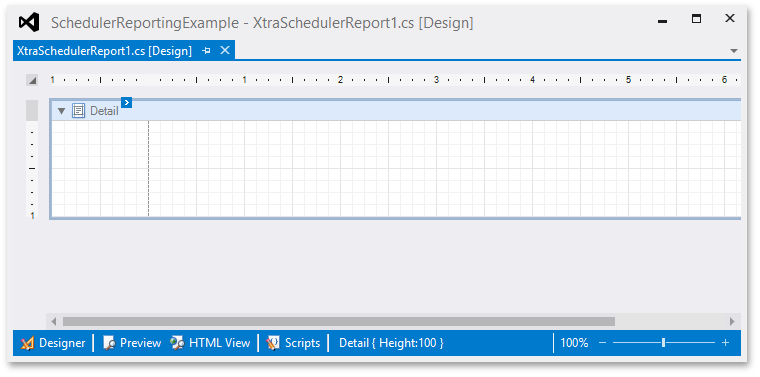
Click Add Item to generate the code and add the file containing the XtraSchedulerReport class descendant to the project. This automatically invokes the Report Designer for the newly created report.
Note
All references required for Scheduler Reporting are added to the project automatically with the report class from the DevExpress Template Gallery.
Steps 4-6. Load a Report from a Template
Note
To create a report from scratch, skip to Step 7.
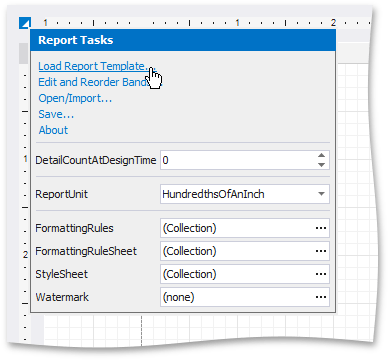
To create a report, use one of the templates from the ready-to-use report layout templates. To connect to this gallery at design time within Visual Studio, click the report’s smart tag and select Load Report Template….
In the Report Templates dialog, select the template and click Load. You can use the search box to search for a specific template name.
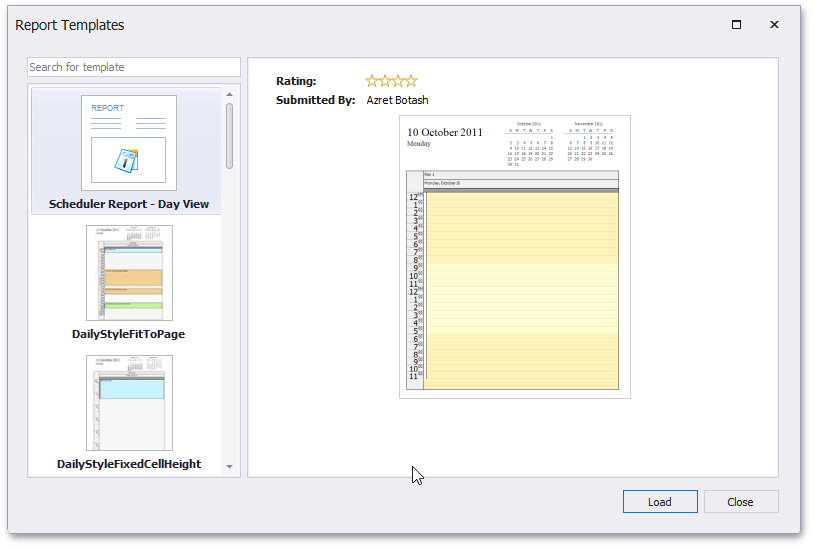
The selected report is downloaded and opened in the Visual Studio Designer.
Steps 7-15. Create a Report from Scratch
Note
If you have loaded a report from a template in steps 4-6, skip to step 16.
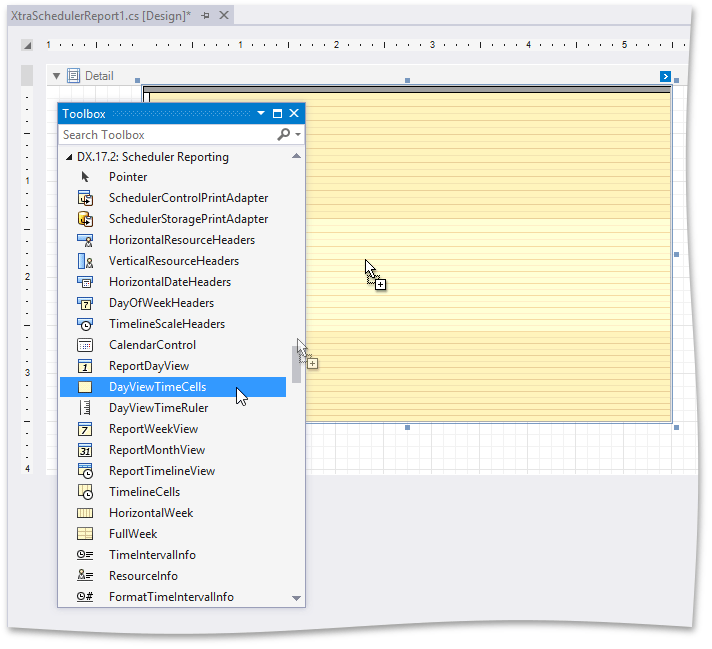
To create a new report, open the Toolbox pane (by pressing CTRL+ALT+X). Then, select the DayViewTimeCells control in the DX.19.1: Scheduler Reporting tab and drop it onto the report’s DetailBand. Note that this tab is visible only if the XtraSchedulerReport class is opened in the Designer.
Note
The current implementation requires that report controls are in the DetailBand only .
- Add the HorizontalResourceHeaders control. Place it above the DayViewTimeCells control in the Detail Band.
- Add the HorizontalDateHeaders control. Place it above the HorizontalResourceHeaders control.
- Use the HorizontalResourceHeaders control’s smart tag menu to link it to the HorizontalDateHeaders control.
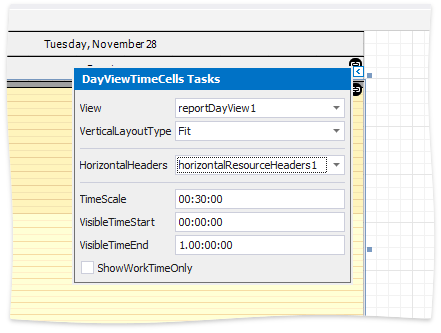
Use the DayViewTimeCells control’s smart tag menu to link it to the HorizontalResourceHeaders control, as shown in the image below.
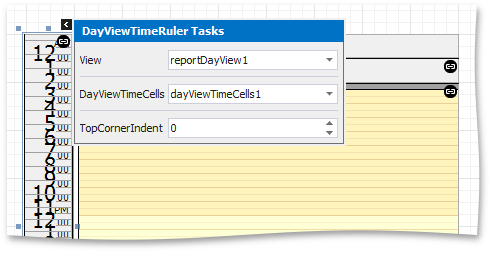
Add the DayViewTimeRuler control, place it on the left side of the DayViewTimeCells control, click its smart tag and select the dayViewTimeCells1 in the DayViewTimeCells drop-down list. The time ruler is linked to the data provider (ReportDayView) and anchored to time cells.
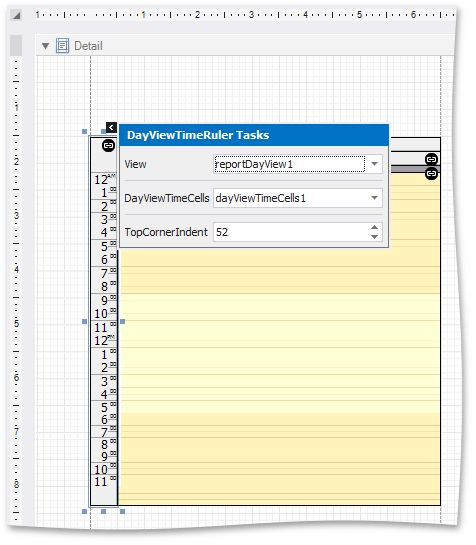
Drag the DayViewTimeRuler‘s top and bottom edges to resize it. Its top border should be aligned to the HorizontalDateHeaders control’s top, and its bottom border to the DayViewTimeCells control’s bottom. The DayViewTimeRuler‘s visible scale starts at the offset from the top edge, which is specified by the ControlCornersOptions.Top property. To specify the offset in the Visual Studio Designer, click the DayViewTimeRuler‘s smart tag and set the TopCornerIndent value as shown below:
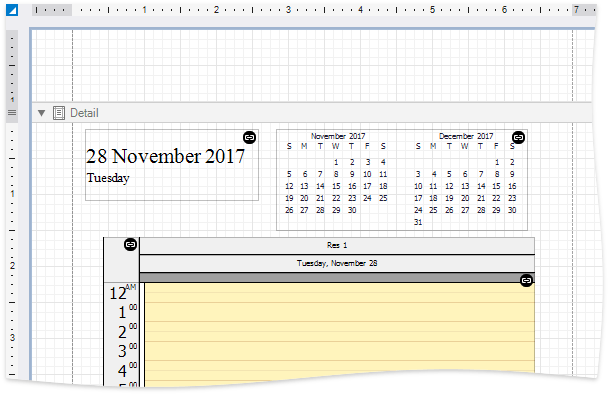
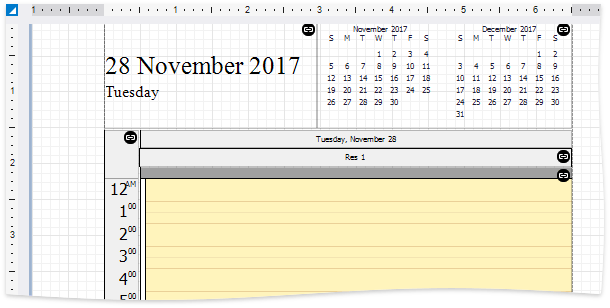
Add the TimeIntervalInfo control and the CalendarControl to the Detail Band. Place them above the other controls, at the top of the page. The controls automatically bind themselves to the DayViewTimeCells control. Arrange the controls on a page by resizing and moving them. The resulting report is shown below.
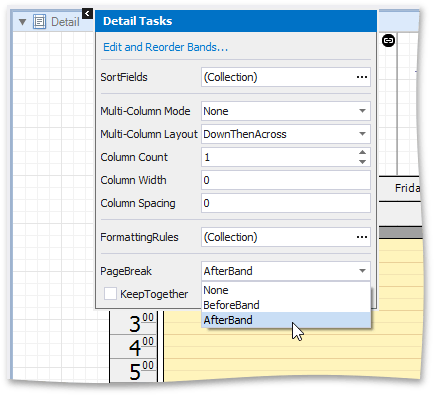
Use the Detail band’s smart tag menu to specify that a page break is inserted after the band:
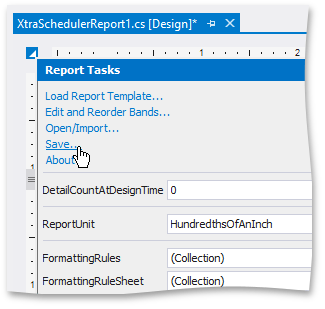
You can save the report layout as a template to reuse it in other applications. For this, click the report’s smart tag, and in the invoked Report Tasks list, select the Save… link.
Steps 16-17. Display the Report
Create a static MyPrintHelper class with the PrintScheduler method, as demonstrated in the code snippet below. Call this method to create a report at runtime, bind it to the Scheduler control and invoke the Preview dialog.
This code snippet contains the PrintScheduler method which performs the following tasks:
- Instantiate the XtraSchedulerReport descendant. The class can be designed in Visual Studio or loaded from a template.
- Specify the time interval of the report’s scheduler data.
- Connect the SchedulerPrintAdapter to the report instance.
- Call the PrintHelper.ShowPrintPreview method to create a document and display it using the built-in document preview window.
Note
A complete sample project is available at https://github.com/DevExpress-Examples/how-to-print-the-scheduler-using-scheduler-reporting-t581109.
using DevExpress.Mvvm; using DevExpress.Xpf.Printing; using DevExpress.Xpf.Printing.Native; using DevExpress.Xpf.Scheduling; using DevExpress.XtraPrinting.Native; using System.Windows; namespace PrintingExample { public static class MyPrintHelper { public static Window mainWindow { get; set; } public static void PrintScheduler(SchedulerControl scheduler) { XtraSchedulerReport1 report = new XtraSchedulerReport1(); DateTimeRange dateTimeRange = scheduler.VisibleIntervals[0]; scheduler.SchedulerPrintAdapter.DateTimeRange = dateTimeRange; scheduler.SchedulerPrintAdapter.AssignToReport(report); PrintHelper.ShowPrintPreview(mainWindow, report); } } }- Set the SchedulerControl.CommandBarStyle property to CommandBarStyle.Ribbon to display the integrated ribbon for the WPF Scheduler.
Add the following namespace declarations to the MainWindow.xaml file:
xmlns:dxr="http://schemas.devexpress.com/winfx/2008/xaml/ribbon" xmlns:dxb="http://schemas.devexpress.com/winfx/2008/xaml/bars" xmlns:dx="http://schemas.devexpress.com/winfx/2008/xaml/core"- Add a reference to the DevExpress.Xpf.Ribbon.v19.1.dll.
Add a new Print group with a Print Scheduler button to the ribbon, whose associated command calls the MyPrintHelper.PrintScheduler method. This task is accomplished by adding a new InsertAction to the SchedulerControl.RibbonActions collection, as illustrated in the following code:
Note
A complete sample project is available at https://github.com/DevExpress-Examples/how-to-print-the-scheduler-using-scheduler-reporting-t581109.
<dxsch:SchedulerControl.RibbonActions>
    <dxb:InsertAction ContainerName="{x:Static dxsch:DefaultBarItemNames.Pages_Home}" Index="6">
        <dxr:RibbonPageGroup Caption="Print">
            <dxb:BarButtonItem
                Command="{Binding PrintSchedulerCommand}"
                CommandParameter="{DXBinding '@ElementName(scheduler)'}"
                Content="Print Scheduler"
                LargeGlyph="{dx:DXImage Image=Print_32x32.png}" />
        </dxr:RibbonPageGroup>
    </dxb:InsertAction>
</dxsch:SchedulerControl.RibbonActions>
Note
A complete sample project is available at https://github.com/DevExpress-Examples/how-to-print-the-scheduler-using-scheduler-reporting-t581109.
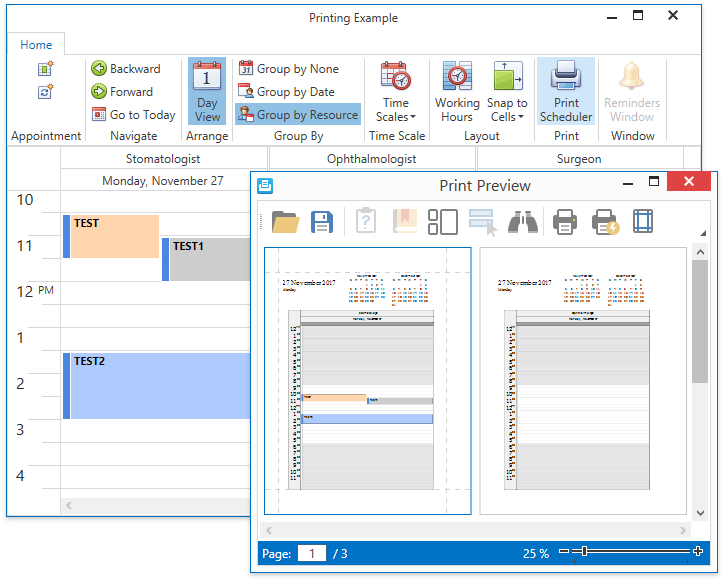
public void PrintScheduler(SchedulerControl scheduler) { MyPrintHelper.PrintScheduler(scheduler); }Run the application, add some appointments and click the Print Scheduler button. The Document Preview window is shown in the image below.