Lesson 2 - Customize the Integrated Ribbon UI
- 3 minutes to read
This example demonstrates how to use bar customization actions to add, modify or remove elements of the DXRichEdit’s integrated Ribbon UI.
This tutorial consists of the following sections:
Create a new DXRichEdit Application
- Create a new WPF Application project and open the MainWindow.xaml file in the Visual Studio Designer.
Add the RichEditControl object to your project. You can do this by dragging the RichEditControl item from the DX.20.2: Rich Text Editor Toolbox tab to the canvas.
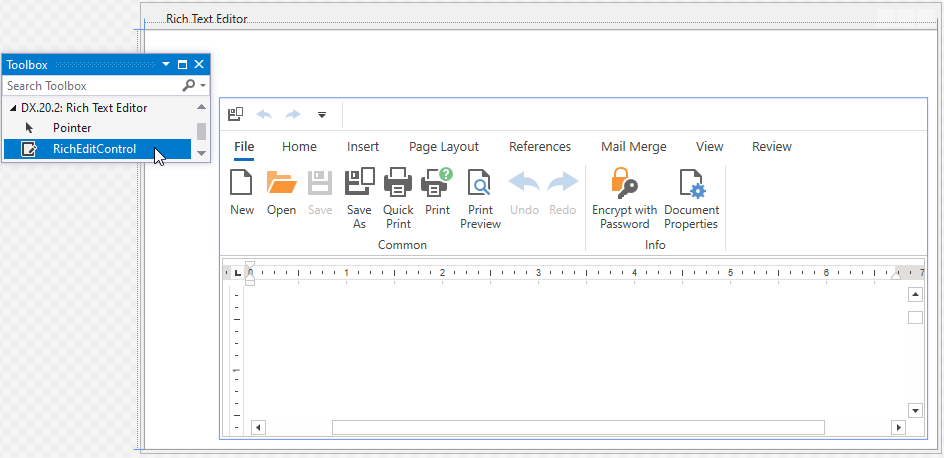
Right-click the RichEditControl object and select Layout | Reset All in the context menu. This stretches the RichEditControl to fill the entire window.
As a result, you have a ready-to-use rich edit application with the integrated ribbon containing all available ribbon pages.
Tip
The RichEditControl comes complete with a ribbon which uses SVG icons by default. Set the ApplicationThemeHelper.UseDefaultSvgImages property to false before the Ribbon is initialized to switch to the bitmap icons.
Customize the Integrated Ribbon
Add the following XML namespace attributes to the MainWindow.xaml document:
xmlns:dx="http://schemas.devexpress.com/winfx/2008/xaml/core"
xmlns:dxr="http://schemas.devexpress.com/winfx/2008/xaml/ribbon"
xmlns:dxb="http://schemas.devexpress.com/winfx/2008/xaml/bars"
Add the required customization actions to the RichEditControl.RibbonActions collection. The action’s ElementName property specifies the name of the existing ribbon element you wish to change or remove. Element names are fields of the DevExpress.Xpf.RichEdit.DefaultBarItemNames class. You can easily deduce the required element name by following naming rules listed in the table below:
| Ribbon Element | Element Type | Page Name | Group Name | Item Name | DefaultBarItemNames Field |
|---|---|---|---|---|---|
Ribbon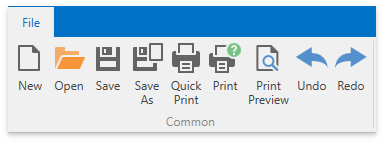 |
Ribbon Control | RibbonControl | |||
Page/Tab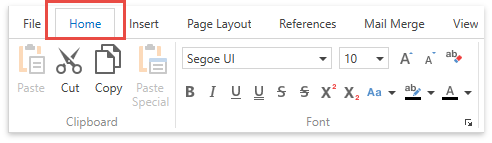 |
Ribbon Page | Home | RibbonPage_Home | ||
Contextual Tab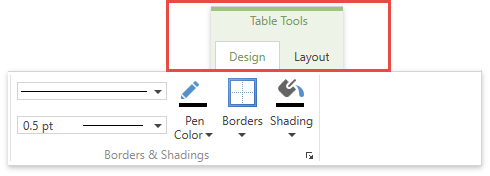 |
Ribbon Category | Table Tools | RibbonCategory_TableTools | ||
Group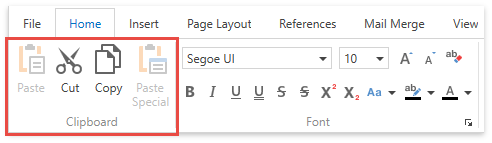 |
RibbonGroup | Home | Clipboard | RibbonGroup_Home_Clipboard | |
Item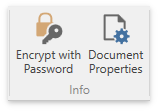 |
RibbonItem | File | Info | Document Properties | RibbonItem_File_Info_DocumentProperties |
You can perform one of the following actions:
Remove a Ribbon Element
To remove an element from a Ribbon, add a RemoveAction with a specified element name to the RichEditControl.RibbonActions collection.
The action in XAML looks as follows:
<dxb:RemoveAction ElementName="{x:Static dxre:DefaultBarItemNames.RibbonItem_File_Info_DocumentProperties}"/>
Modify a Ribbon Element
To change an item’s property, add an UpdateAction, specifying the element’s name (the name is determined as explained previously), the property and a new value, to the RichEditControl.RibbonActions collection. The XAML that selects the View page looks as follows:
<dxb:UpdateAction ElementName="{x:Static dxre:DefaultBarItemNames.RibbonPage_View}" PropertyName="IsSelected" Value="True"/>
Add a New Ribbon Element
To add a new element, add an InsertAction to the RichEditControl.RibbonActions collection. The code below adds a new group “Demo” which contains a button “About” to the “View” ribbon page, assigns an image to it and subscribes to the button’s ItemClick event.
<dxb:InsertAction Index="2" ContainerName="{x:Static dxre:DefaultBarItemNames.RibbonPage_View}">
    <dxr:RibbonPageGroup Caption="Demo">
        <dxb:BarButtonItem Content="About"
                            LargeGlyph="{dx:DXImageOffice2013 Image=Info_32x32.png}"
                            ItemClick="About_ItemClick"/>
    </dxr:RibbonPageGroup>
</dxb:InsertAction>