How to: Create and Customize a ProgressBarEdit
The ProgressBarEdit editor indicates the progress of a lengthy operation.
This document demonstrates how to create and customize a ProgressBarEdit control.
Follow the steps listed below.
Open the Visual Studio toolbox, locate the ProgressBarEdit toolbox item and drop it onto the window.
In the generated XAML code, edit the progress bar layout properties as it is shown in the code sample below.
<Window xmlns="http://schemas.microsoft.com/winfx/2006/xaml/presentation"
        xmlns:x="http://schemas.microsoft.com/winfx/2006/xaml"
        xmlns:dxe="http://schemas.devexpress.com/winfx/2008/xaml/editors"
        x:Class="ProgressBarEdit.MainWindow"
        Title="MainWindow" Height="200" Width="400">
    <Grid>
        <dxe:ProgressBarEdit Height="40" HorizontalAlignment="Center"
          Name="progressBar1" VerticalAlignment="Center" Width="300"/>
    </Grid>
</Window>
You can use DevExpress Smart Tag to change the ProgressBarEdit main properties:
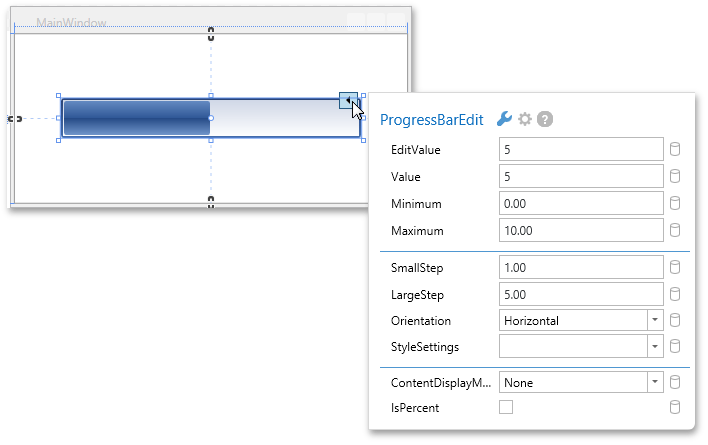
Set the Value to 5 and Maximum to 10. Minimum is set to 0 by default, leave it as it is.
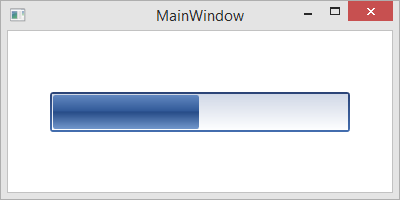
The following XAML code will be generated.
<Window xmlns="http://schemas.microsoft.com/winfx/2006/xaml/presentation"
        xmlns:x="http://schemas.microsoft.com/winfx/2006/xaml"
        xmlns:dxe="http://schemas.devexpress.com/winfx/2008/xaml/editors"
        x:Class="ProgressBarEdit.MainWindow"
        Title="MainWindow" Height="200" Width="400">
    <Grid>
        <dxe:ProgressBarEdit Height="40" HorizontalAlignment="Center"
          Name="progressBar1" VerticalAlignment="Center" Width="300"
          Maximum="10" Value="5"/>
    </Grid>
</Window>
Run the application to see the result.