How to: Create a Ribbon or Toolbar UI for your Rich Edit-based Application
- 3 minutes to read
The Rich Edit control can automatically generate a Ribbon or toolbar UI at design time to allow you to create fully-functional word processor applications in a few clicks.
Create a Ribbon Style VCL Application
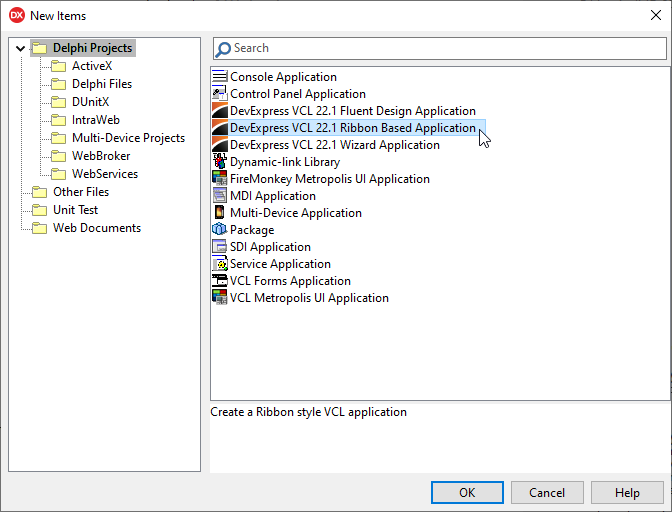
Click the File → New → Other… item in the IDE’s main menu to invoke the New Items dialog, and select the Ribbon-based application template.
The DevExpress VCL 22.1 Ribbon Based Application template creates a new application project with a form derived from the TdxRibbonForm class. The new form has a preconfigured TdxSkinController component and an embedded TdxRibbon control with one tab.
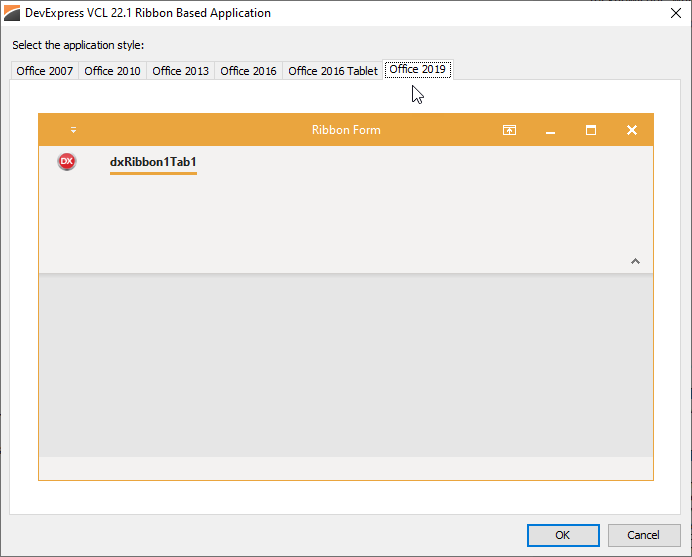
Select a Ribbon style.
Add and Configure the Rich Edit Control and the Component Printer
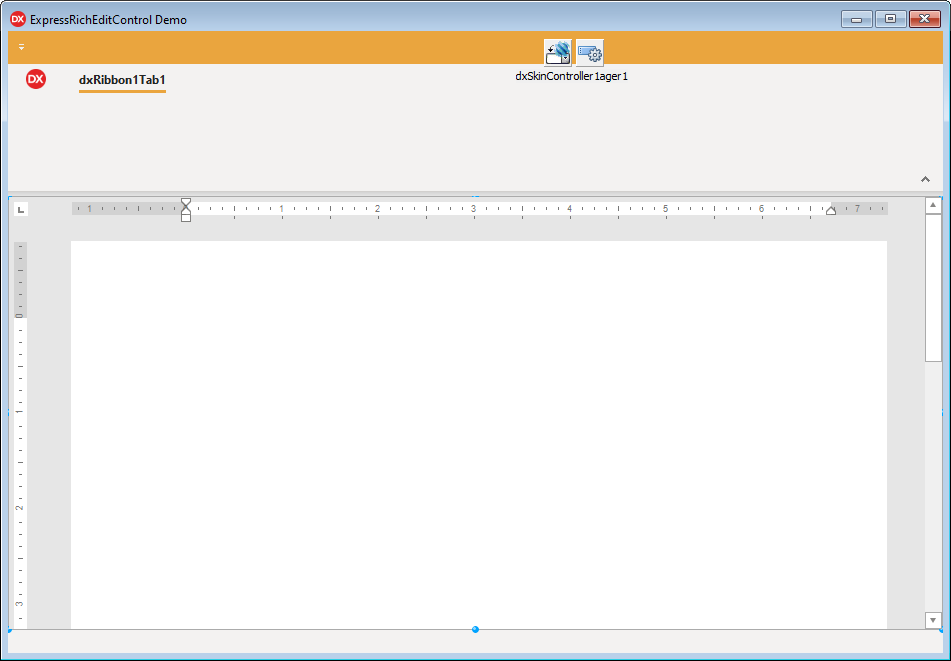
Place a TdxRichEditControl on the created Ribbon Form. Then, set the Align property of the dxRichEditControl1 to alClient.
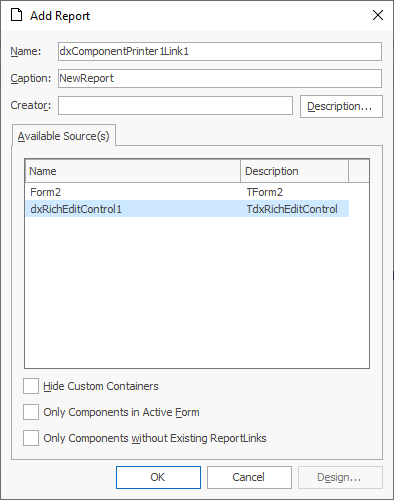
Select the dxRichEditControl1 component in the Add Report dialog and click the OK button.
Configure the Component Printer
Place the TdxComponentPrinter component on the same form to make print-related UI elements functional in the resulting Ribbon UI. Double-click the component and click the Add button in the opened dialog to create a report link for the TdxRichEditControl to allow users to print its content.
Generate the Ribbon UI
Right-click the dxRichEditControl1 to invoke its context menu and click the Generate Ribbon/Toolbar UI… item.

The Generate Ribbon/Toolbar UI dialog appears.
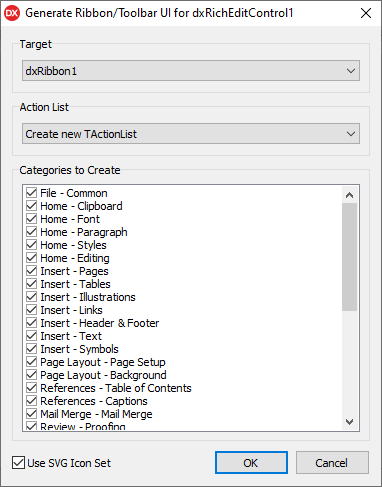
This dialog has the following UI elements:
- The “Target” combo box
- Allows you to choose between the TdxRibbon and TdxBarManager targets. If your project already has at least one of these components, the combo box includes them as available UI generation targets.
- The “Action List” combo box
- Allows you to create new or select an existing action list component used to host generated action objects linked to individual UI elements.
- The “Categories to Create” box
- Lists the command categories that the TdxRichEditControl is about to generate. The control generates action objects and corresponding UI elements only for checked command categories.
- The “Use SVG Icon Set” check box
- Allows you to choose between vector and bitmap icon sets for automatically generated UI elements. You can deselect this check box to use bitmaps instead of vector icons.
Note
The Rich Edit control’s automatic UI generator does not affect existing UI elements, action lists, and action objects in your application project, even if you selected existing components as UI generation targets.
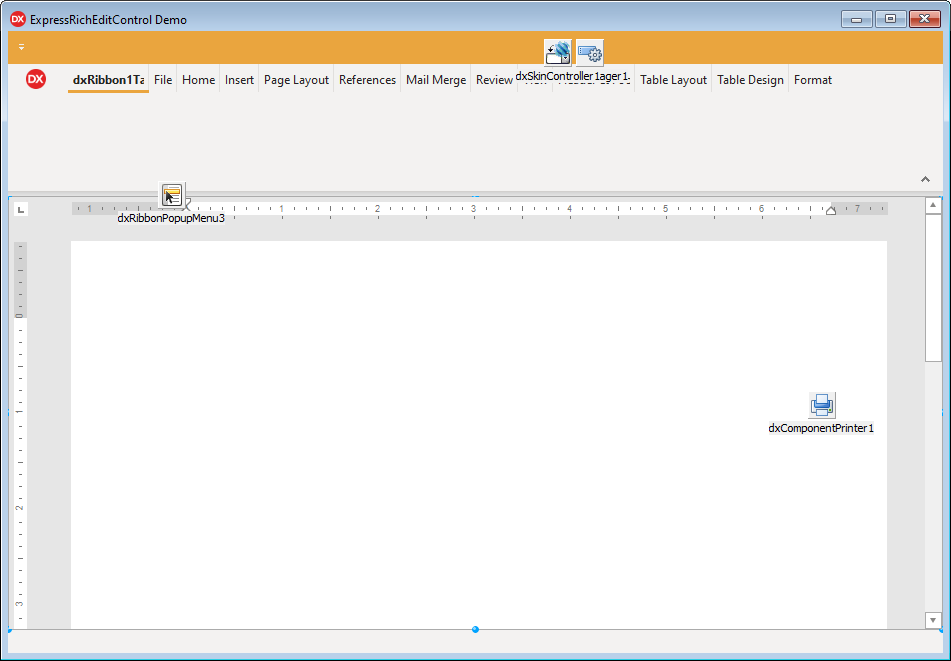
Click the OK button to initiate the UI creation process with the selected settings.
Configure the Generated Ribbon
Remove the Redundant Tab
Right-click the dxRibbon1Tab1 tab and click the Delete Tab item in the context menu.

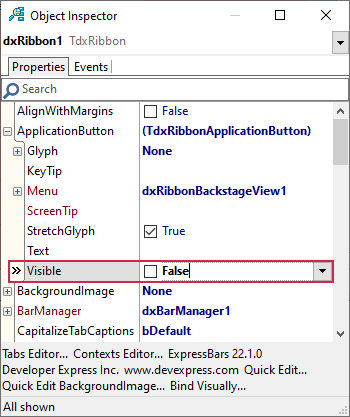
Hide the Application Button
Select the Ribbon UI, and expand the ApplicationButton node in the Object Inspector. Set the ApplicationButton.Visible property to False to hide the application button.
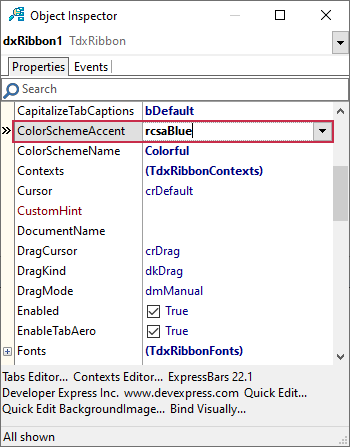
Change the Color Scheme (Optional)
Set the ColorSchemeAccent property to rscaBlue or any other value in the Object Inspector:
Run and Test the Application
You can now build and run the Rich Edit control-based application with an automatically generated Ribbon UI.