Dialogs
- 2 minutes to read
- Recent Projects
- Loaded Skins
- Project Manager
- Skin Comparer
- Skin Editor Settings
- Skin Settings
- Search Element Dialog
Recent Projects
Displays projects you have recently worked on. Click the pin button to show this project at the top of the dialog, then right-click it and select “Remove from this list” to remove it from this list.
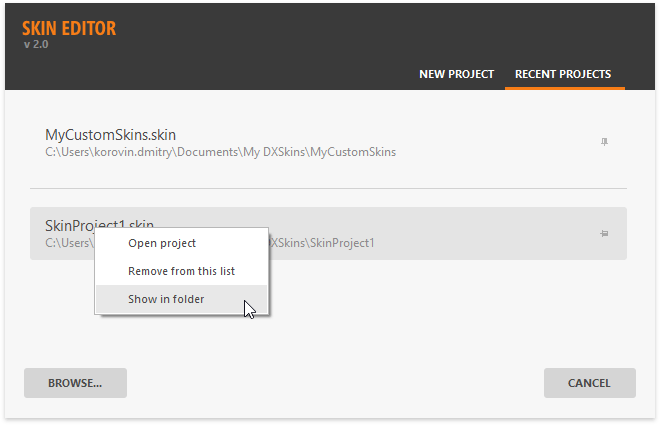
This dialog automatically appears on-screen when the Skin Editor starts and is accessible through the Skin Editor’s main menu.
Loaded Skins
Displays all skins included in the project. Skins with check marks open in separate main window tabs and are available for editing. Uncheck skins you are not currently working on to hide their tabs (skins will remain in the project).
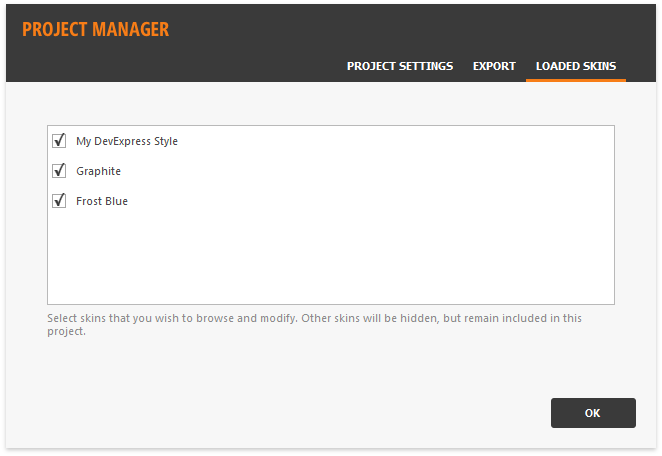
To invoke this dialog, click “Loaded Skins…” in the Skin Editor main menu.
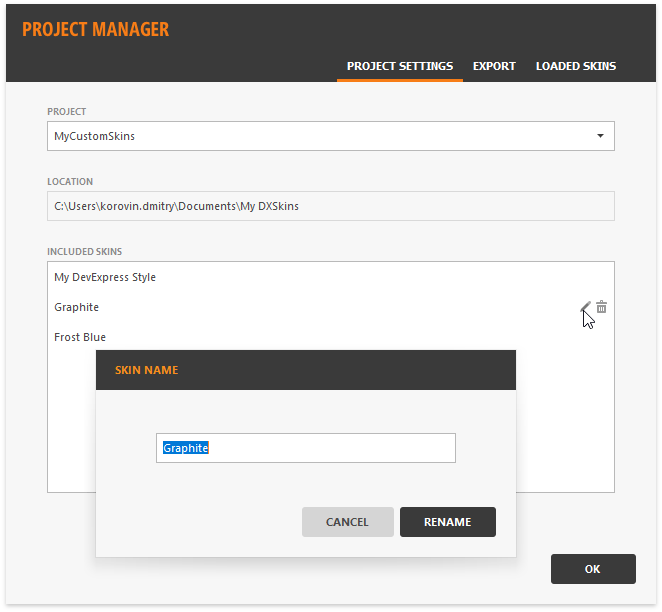
Project Manager
Allows you to rename and remove skins included in the selected project.
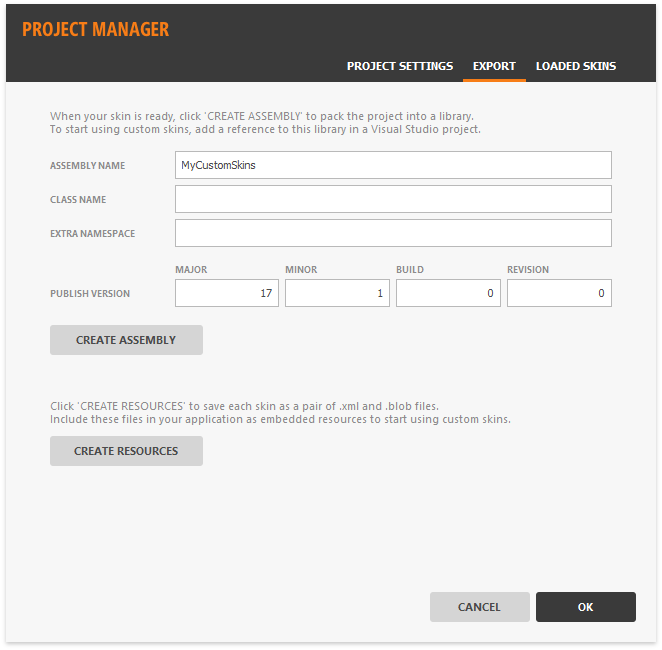
In the “Export” tab, you can produce a .dll library that contains all the skins included in the project. See this article to learn how to register assemblies and apply custom skins.
To invoke this dialog, click “Project Manager…” in the Skin Editor main menu.
Skin Comparer
In this dialog, you can compare skin element settings of the skins included in your project. Use the “Show values” selector to view all skin elements or only those whose settings differ from each other.

Click “Compare Skins…” in the Skin Editor main menu to view this dialog.
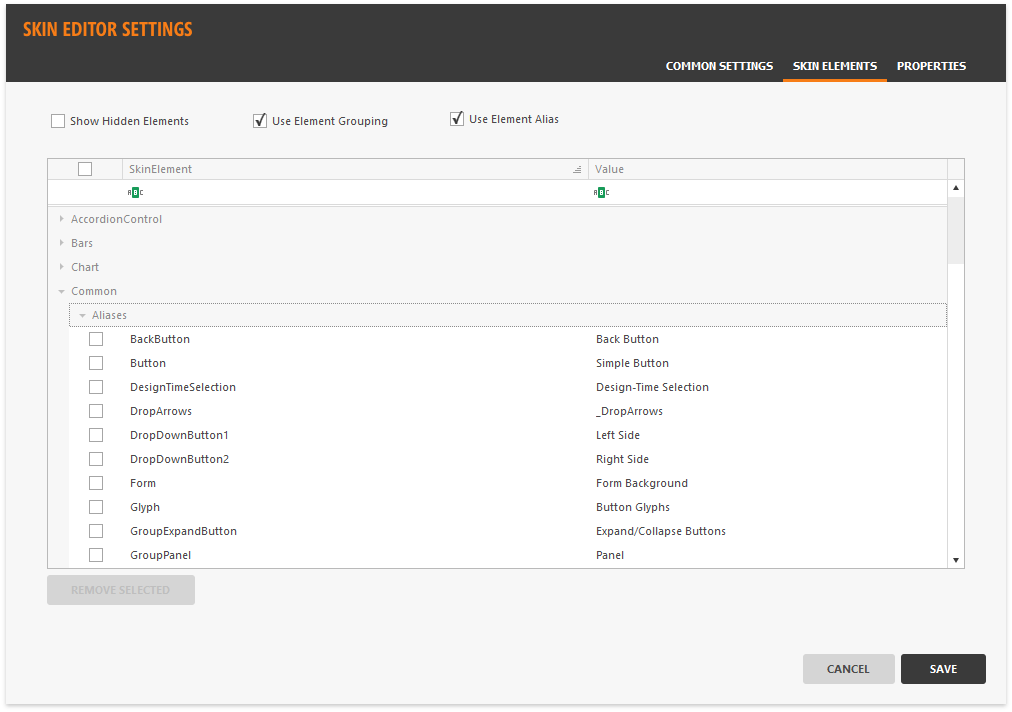
Skin Editor Settings
Provides access to global Skin Editor settings. In the “Common Settings” tab, you can set up the project auto-save intervals and specify an external graphics editor for editing skin element bitmaps.
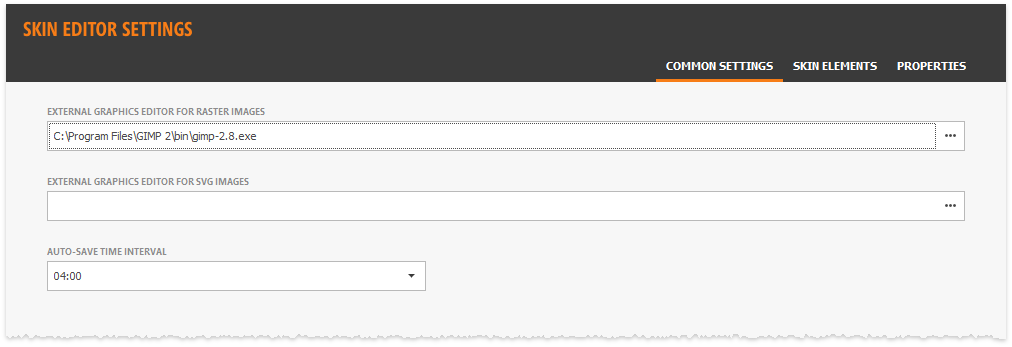
Settings available in the “Elements” and “Properties” dialog tabs allow you to customize the skin element’s list and property grid.
This dialog invokes when you click “Settings…” in the Skin Editor main menu.
Skin Settings
Provides access to the current skin’s advanced settings.

To view this dialog, press the gear icon ( ) within the main window Ribbon.
Search Element Dialog
Skin elements display different names, depending on whether or not element aliases are enabled in Editor settings. The Search Element dialog allows you to search for elements regardless of this setting by real names and aliases.
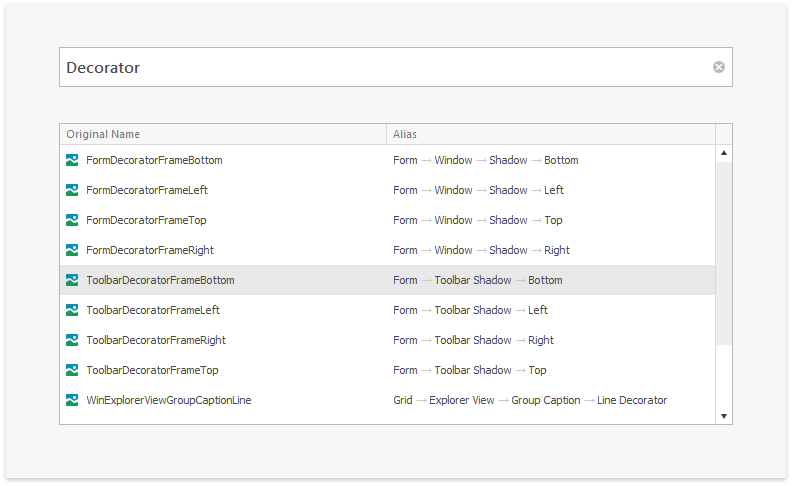
To invoke this dialog, click the “Search” Ribbon command ( ) or press the Ctrl+F shortcut.