Create a Calculated Field
- 2 minutes to read
This tutorial demonstrates how to create a field that is not stored in the bound data source and is calculated using a pre-defined expression. For example, you can use data fields containing information about a price and quantity to evaluate a total price as well.
Create a Calculated Field
Do the following to create a calculated field:
Click the menu button and select Data Sources.

Select a required data source, select a query and click the Add Calculated Field button.

In the invoked Create Calculated Field dialog, specify the field Name and make sure to change the Field Type option to an appropriate value. Then, specify an expression for evaluating values of a calculated field.

This dialog allows you to visually construct a required expression using the predefined functions, logical and arithmetical operators and fields of a data source to which a dashboard is bound.
Use the field name in [square brackets] to insert a data field into the expression’s text. Date-time constants should be wrapped in hashtags (#). Use apostrophes (‘) to denote strings.
A calculated field’s expression can evaluate values of other calculated fields if you make sure to avoid circular references.
Click Save to create a calculated field and display it in the data source structure with the f glyph.

Use the Calculated Field
You can use the calculated field as an ordinary field for binding dashboard items.
Open the grid item’s Bindings menu, click the Add Column placeholder and select the created calculated field.
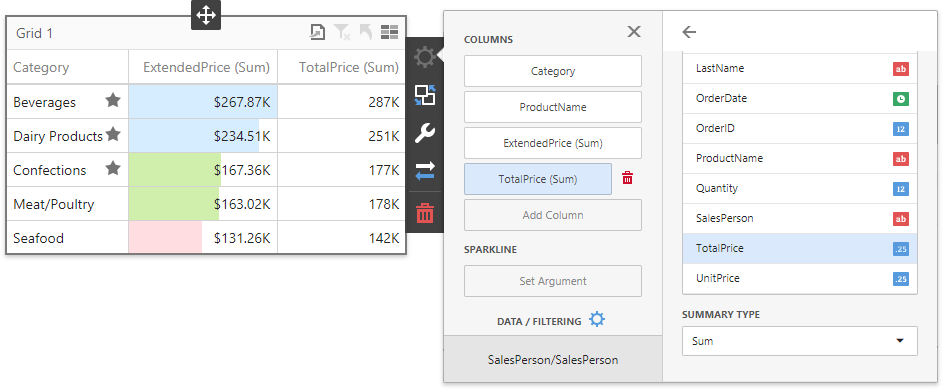
Apply a currency format to this column and perform required data shaping operations. See Add Dashboard Items and Perform Basic Data Shaping to learn more.