Provide Navigation to the Report
- 3 minutes to read
This tutorial illustrates how to simplify navigation in a master-detail report created in previous tutorials by adding bookmarks and a table of contents.
Specify Bookmarks
You can assign bookmarks to a report control and the report itself. In Print Preview, the document map lists these bookmarks which allow you to navigate to a specific entry in a document.
Perform the following steps to provide bookmarks to a master-detail report:
Select the master report and switch to the Properties panel. Expand the Navigation section and set the Bookmark property (for example, to Invoices) to define the text for the document map’s root bookmark.
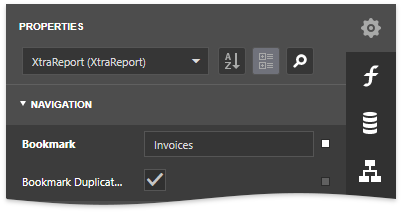
The root bookmark displays the report name if you do not specify this property.
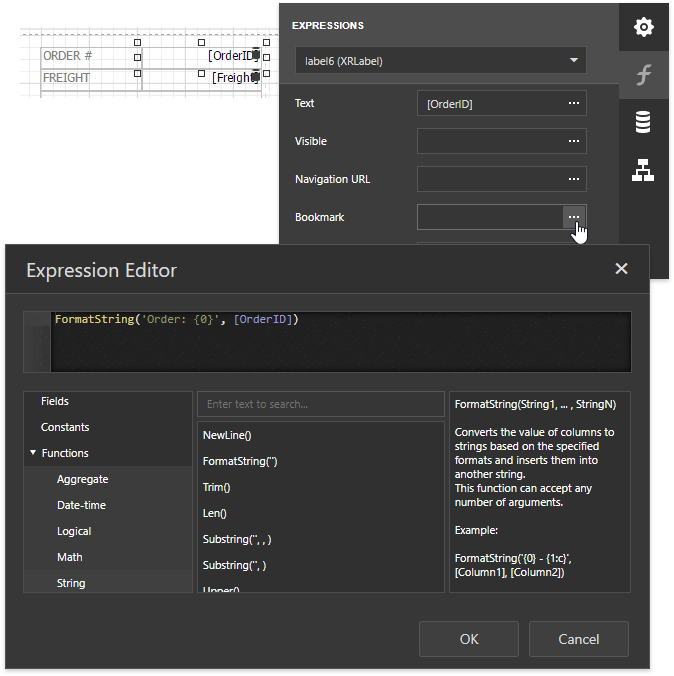
Select the control bound to the OrderID field in the master report’s detail band and switch to the Expressions tab. Click the Bookmark property’s ellipsis button, and in the invoked Expression Editor, select the OrderID data field. You can also format the bookmark text using the FormatString function.
For instance, specify the following expression: FormatString(‘Order: {0}’, [OrderID]).
Select the table in the detail report’s Detail band and bind its Bookmark property to the ProductName field (that belongs to the master-detail relationship).

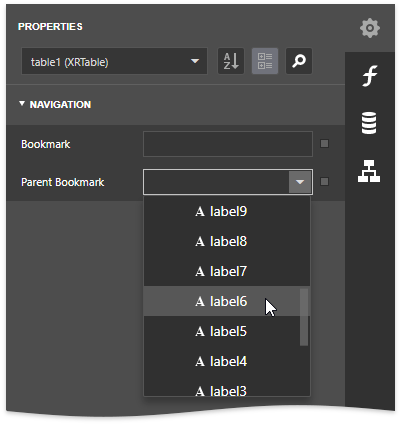
Switch to the Properties tab, expand the Navigation category and set this table’s Parent Bookmark property to the label placed in the master report. This arranges bookmarks into a parent-child structure reflecting the report elements’ hierarchy in the Document Map.
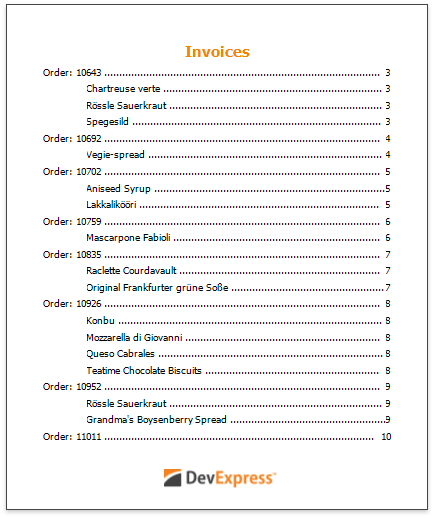
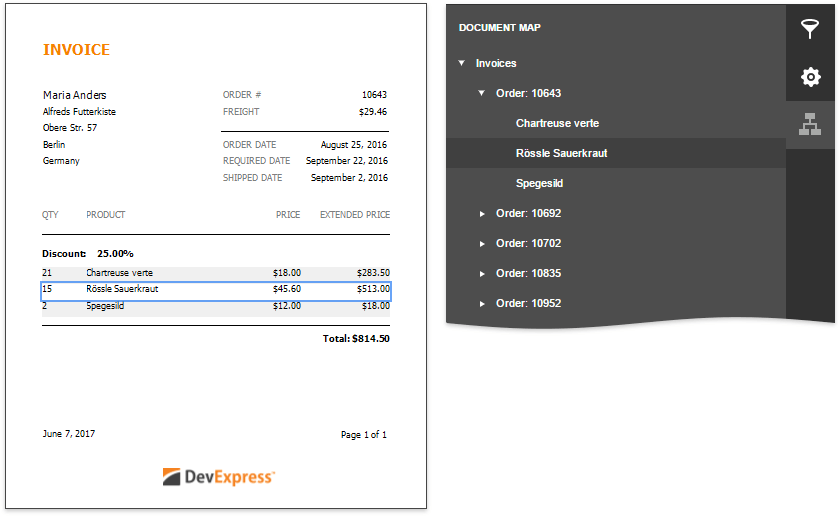
Switch to Print Preview to view the result. Click an item in the document map tree to show the corresponding document page and highlight the element associated with the bookmark.
Add a Table of Contents
Do the following to add a table of contents listing bookmarks assigned to report elements along with their corresponding page numbers:
Drop the Table of Contents control from the Toolbox onto the master report’s Report Header band. This band is created automatically if the report does not contain it.
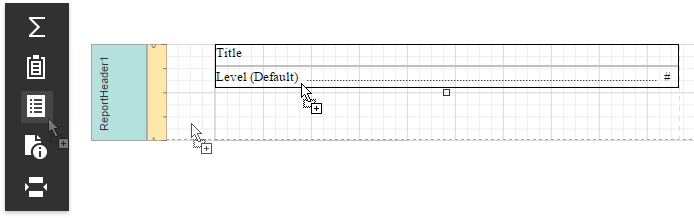
Double-click the table of contents’ title and specify its text.

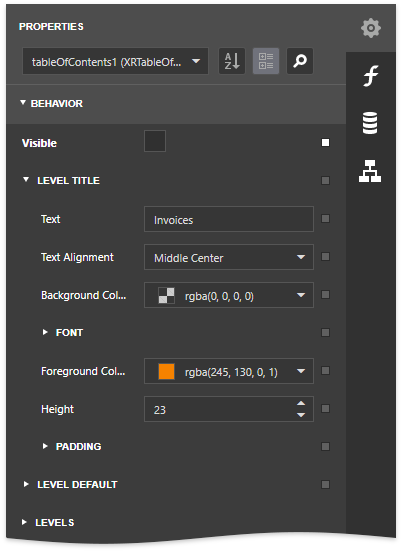
Switch to the Properties Panel, expand the Behavior category and use settings in the Level Title section to customize the title appearance.
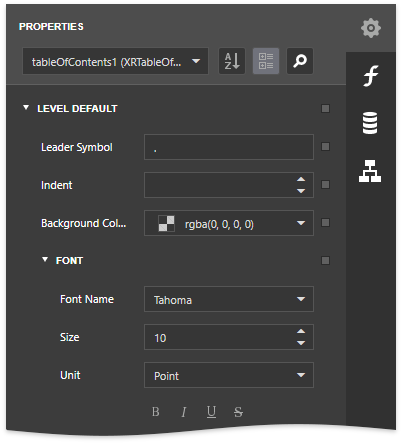
Adjust the options in the Level Default section to specify all other levels’ appearance.
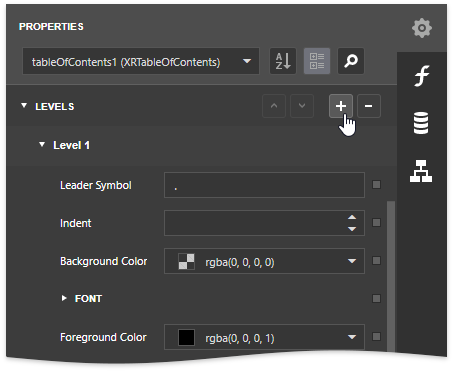
Add a corresponding item to the Levels collection if you need to customize a level individually. After creating a new level, you can access and customize its properties.
You can view the result by switching to Print Preview. The document begins with a table of contents generated based on the bookmarks’ hierarchy.