Construct the Report Layout
- 5 minutes to read
This tutorial details the process of constructing a master-detail report to display information from a data source created in the previous tutorial. It describes how to change page layout settings, provide static and dynamic content to the report and customize the report layout by positioning and aligning report elements.
Prepare the Report Layout
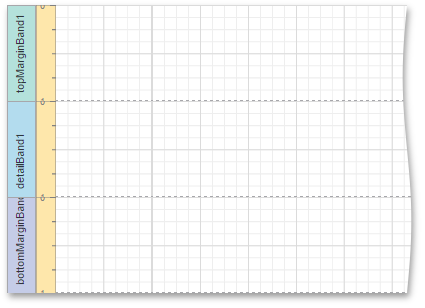
After creating a new report, its layout is divided into three default bands (TopMargin, Detail and BottomMargin) that provide space for placing different report controls on them.
- The top and bottom margins repeat on each document page.
- The Detail band is printed as many times as there are records in the report data source.
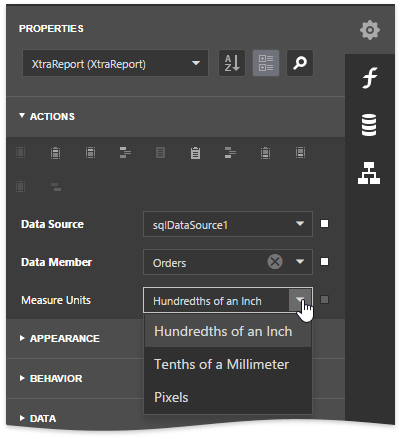
Go to the Properties panel and use the Measure Units property under the Actions category to choose a system of measurement assigned to a report. This property affects report and report elements’ unit-related options (such as location, size, etc.)
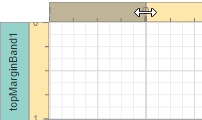
Move sliders on the horizontal and vertical rulers in the report surface to modify page margins.
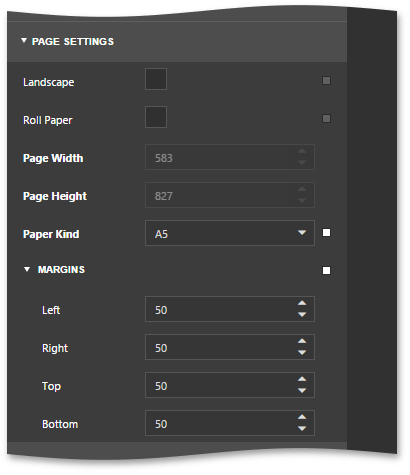
Alternatively, you can expand the Page Settings category in the Properties panel and explicitly specify the Margins option.
In this category, you can also select a predefined paper size or define a custom one, enable the Landscape page orientation and print a report on a roll paper.
Construct the Master Report
This section describes how to add data-aware controls to the report, provide static content as well as construct the report layout by positioning and aligning report elements.
Add Dynamic Content
Select the required item in the Field List and drag-and-drop it onto the Detail band to create a new data-aware report control.
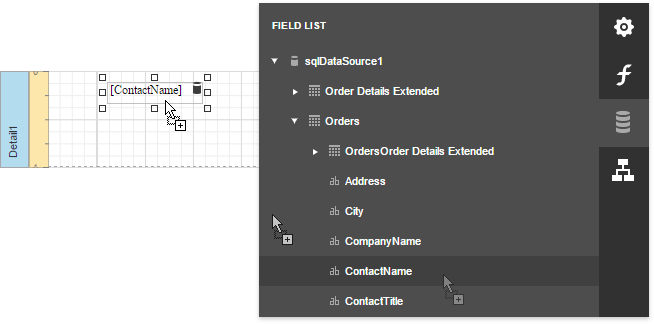
The control is marked with the database icon meaning that it is bound to the data field whose name it displays.
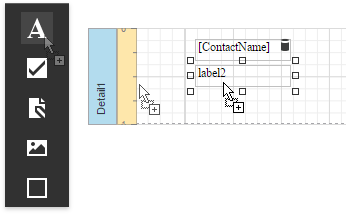
Another way to create a new report control is to drag the corresponding item from the Toolbox and drop it onto the band.
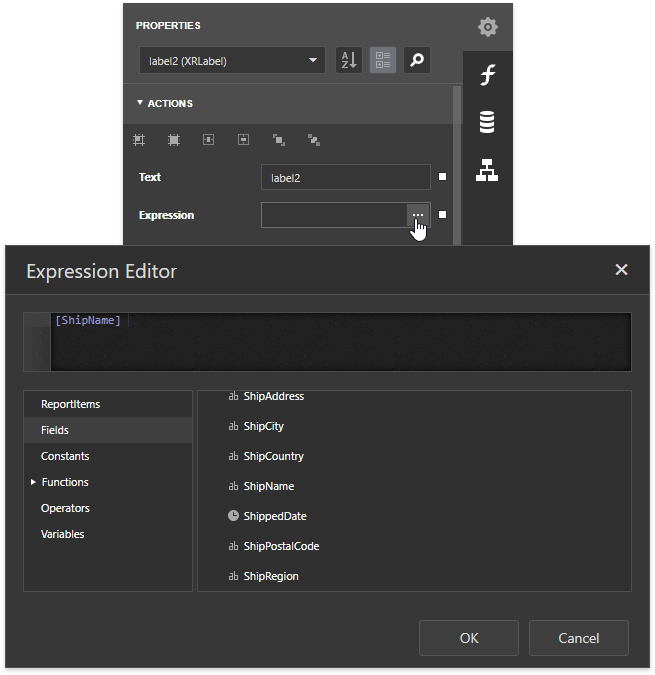
Select an added report control and, in the Properties panel, click the Expression property’s ellipsis button. In the invoked Expression Editor, bind this control to the required data field.
Add other data fields to the report using one of the described approaches.
Add Static Content
Drop Label controls from the Toolbox onto the band and double-click them to enter the required text to display static headers for specific data fields.

Use the Line control to separate data.
Use Mail Merge
You can also use the Mail Merge feature to embed data fields into a static text. Add the Label to the report and insert a data field name with square brackets into the control’s text.

Position and Align Report Elements
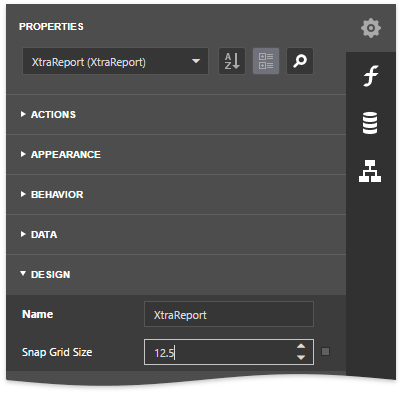
The report surface is lined up by the snap grid, which makes it easier to align report elements to each other. The Snap Grid Size property specifies the snap grid’s dimensions.
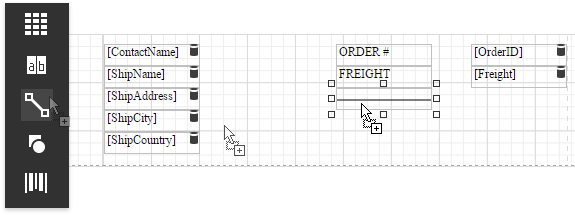
You can move a report control by dragging it to a new location or by using ARROW keys. When a control is being moved, special guide lines appear indicating its position and size relative to other report controls.

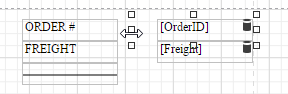
Resize a report control by selecting it and dragging the rectangle drawn on its edges or corner.
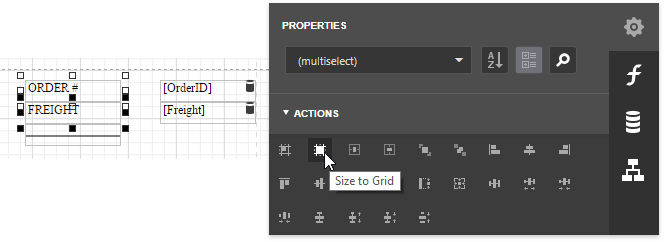
You can also select multiple report controls while holding down the CTRL key, and then, move and resize them as individual controls.
The Actions category in the Properties panel provides special buttons that allow you to align the selected control or multiple selected controls (for example, align and resize to the snap grid).
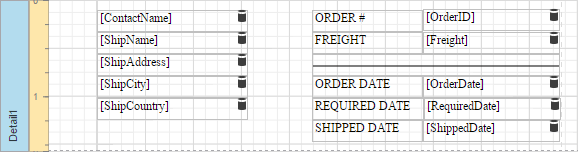
Perform the steps described above to get the following master report layout:
Construct the Detail Report
This section describes how to create a detail report band and construct its layout to display data in a tabular form.
Add a Detail Report Band
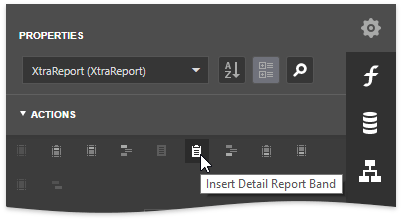
Select a report and switch to the Properties panel. Expand the Actions category and click Insert Detail Report Band.
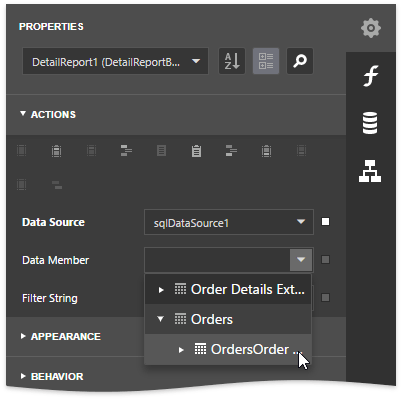
Specify the Data Source option and set the Data Member property to the name of the master-detail relationship for the added band.
Note that a report can contain any number of detail reports (with each detail report containing any number of nested detail reports), which makes it possible to publish complex hierarchical data.
Construct the Report Layout
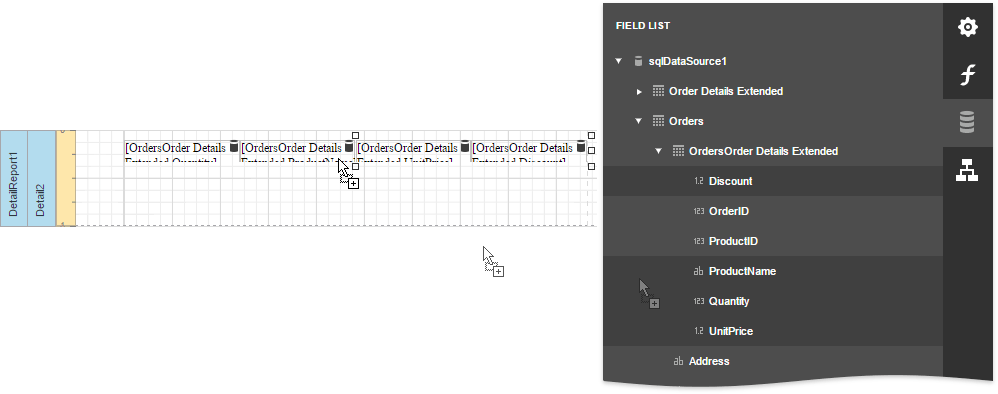
Click the required data fields in the Field List while holding down the CTRL key and drop them onto the Detail band of the detail report to display dynamic content in a tabular form. This creates a table with cells bound to the corresponding data fields.
You should get fields under the category corresponding to the master-detail relationship to generate the detail report’s data.
Add the Group Header to the detail report by selecting the report and clicking Insert Group Header Band in the Properties panel.

Drop the Table control from the Toolbox onto the added band.
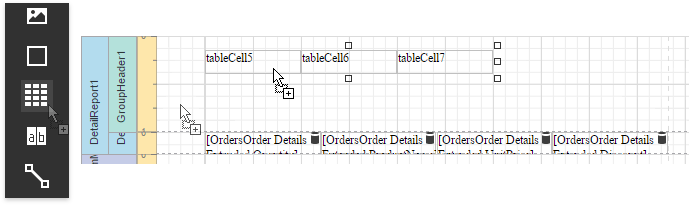
Double-click table cells and enter the required text.

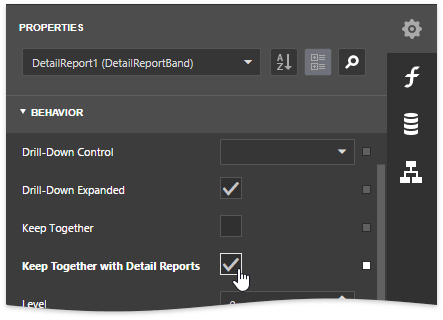
Enable the Keep Together with Detail Reports option of the master report’s Detail band to always print master and detail report content on the same page.
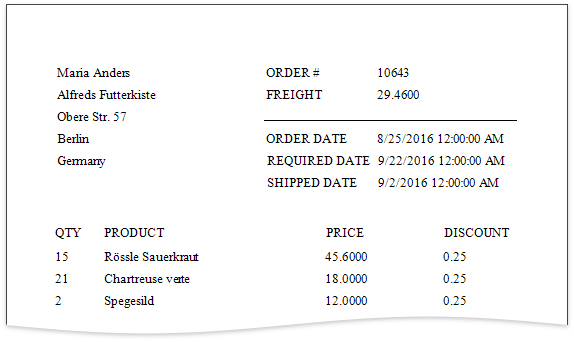
View the Result
Click the Preview  toolbar button to see the resulting report.