Create a WinForms Designer
- 2 minutes to read
This topic describes how to create a WinForms Dashboard Designer application.
Note
Watch the video: DevExpress Dashboards - Creating a Dashboard
- Open Microsoft Visual Studio 2012, 2013, 2015, 2017 or 2019 and create a new Windows Forms application project by selecting File | New | Project… in the main menu. In the invoked New Project window, select the Windows Classic Desktop template group, and choose the Windows Forms Application item. Specify the project’s name and click OK.
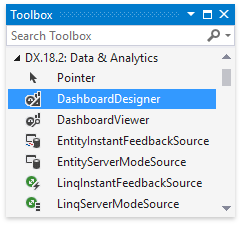
Drag the DashboardDesigner control from the DX.19.1: Data & Analytics Toolbox tab and drop it onto the main form.
Important
Note that the DashboardDesigner control does not support the .NET Framework 4.0 Client Profile. See How to: Target a Version of the .NET Framework to learn how to target a specific .NET Framework version.
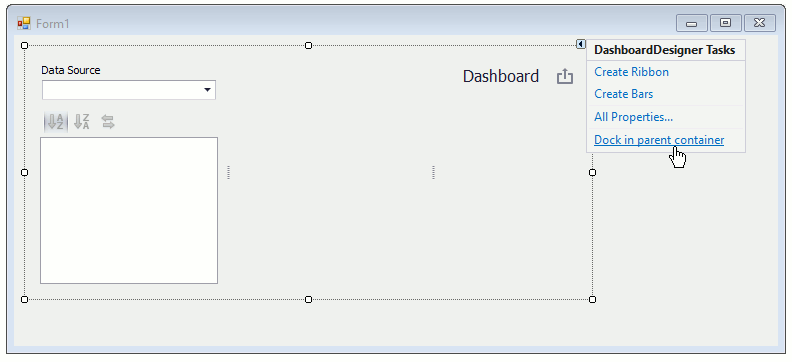
Click the control’s smart tag and select Dock in Parent Container in the invoked actions list to allow the DashboardDesigner to fill the form.
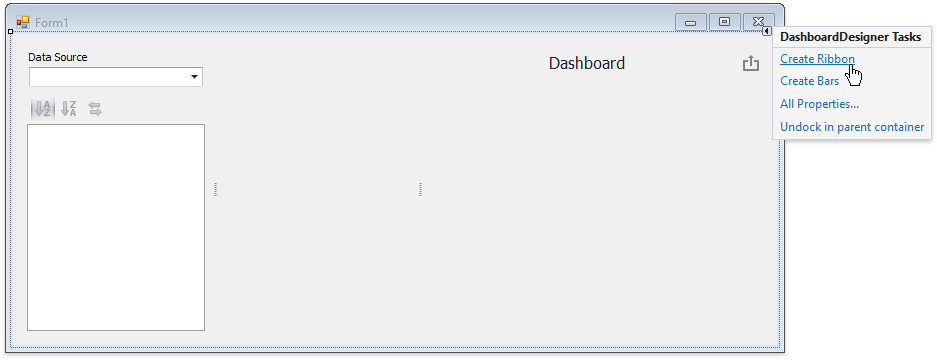
At the moment you can create Ribbon UI or insert a line of code to create it at runtime. To create Ribbon UI in Visual Studio Designer, click Create Ribbon:
 To create Ribbon control with predefined commands at runtime, run the CreateRibbon method after the InitializeComponent call:
Tip
Convert default Form to DevExpress Ribbon Form for better Ribbon and form integration.
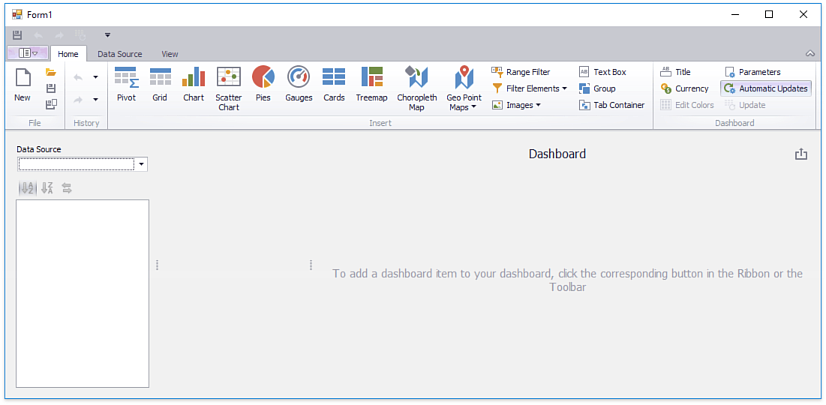
The designer application is now ready. Build and run the project.

Your application should appear as follows:
See Create a Dashboard using the WinForms Designer to learn how to create a dashboard using this application.
Next Steps
Create Dashboards in the WinForms Designer
Describes how to create and configure dashboards in the WinForms Designer.
-
Describes how to embed the DashboardDesigner control into a WinForms application and how to customize the control’s UI elements.
-
Describes how to prepare the DashboardViewer control to display a dashboard in the WinForms application.