Create an ASP.NET Core Dashboard Application
- 5 minutes to read
This tutorial describes how to integrate the Web Dashboard control into an ASP.NET Core web application. The guide applies to framework .NET 6+.
Prerequisites
Step 1. Create an ASP.NET Core Web Application
In Visual Studio, create a new project as follows:
- On the start page, select ASP.NET Core Web App as the project template.
- In the Configure your new project dialog, enter
WebDashboardAspNetCorefor Project name. - In the Additional information dialog, specify the target framework (.NET 6.0).
Step 2. Install the NuGet Packages
In the project, open the NuGet Package Manager and set the package source to All. Install the following npm packages:
- DevExpress.AspNetCore.Dashboard
- BuildBundlerMinifier
Refer to the following topic to install and manage libraries using DevExpress NuGet feed: Setup Visual Studio’s NuGet Package Manager.
Step 3. Configure an ASP.NET Core Web Application
Open the Add New Item dialog (Ctrl+Shift+A), create the npm Configuration File (package.json), and add the following npm packages:
{
    ...
    "devDependencies": {
        "devextreme-dist": "23.2-stable",
        "@devexpress/analytics-core": "23.2-stable",
        "devexpress-dashboard": "23.2-stable"
    }
}
Save package.json, right-click it and select Restore Packages.
Create the bundleconfig.json file in the root directory and add the following configuration:
[
  {
    "outputFileName": "wwwroot/css/site.min.css",
    "inputFiles": [
      "node_modules/devextreme-dist/css/dx.light.css",
      "node_modules/@devexpress/analytics-core/dist/css/dx-analytics.common.css",
      "node_modules/@devexpress/analytics-core/dist/css/dx-analytics.light.css",
      "node_modules/@devexpress/analytics-core/dist/css/dx-querybuilder.css",
      "node_modules/devexpress-dashboard/dist/css/dx-dashboard.light.min.css"
    ],
    "minify": {
      "enabled": false,
      "adjustRelativePaths": false
    }
  },
  {
    "outputFileName": "wwwroot/css/ace/ace.bundle.css",
      "inputFiles": [
          "node_modules/ace-builds/css/ace.css",
          "node_modules/ace-builds/css/theme/dreamweaver.css",
          "node_modules/ace-builds/css/theme/ambiance.css"
      ],
      "minify": {
        "enabled": false,
        "adjustRelativePaths": false
      }
    },
  {
    "outputFileName": "wwwroot/js/site.min.js",
    "inputFiles": [
      "node_modules/jquery/dist/jquery.min.js",
      "node_modules/knockout/build/output/knockout-latest.js",
      "node_modules/ace-builds/src-min-noconflict/ace.js",
      "node_modules/ace-builds/src-min-noconflict/ext-language_tools.js",
      "node_modules/ace-builds/src-min-noconflict/theme-dreamweaver.js",
      "node_modules/ace-builds/src-min-noconflict/theme-ambiance.js",
      "node_modules/devextreme-dist/js/dx.all.js",
      "node_modules/@devexpress/analytics-core/dist/js/dx-analytics-core.min.js",
      "node_modules/@devexpress/analytics-core/dist/js/dx-querybuilder.min.js",
      "node_modules/devexpress-dashboard/dist/js/dx-dashboard.min.js"
    ],
    "minify": {
      "enabled": false
    },
    "sourceMap": false
  }
]
Create the libman.json file in the root directory of the project and add the following LibMan configuration to copy icon fonts to the application’s static content folder:
{
  "version": "1.0",
  "defaultProvider": "filesystem",
  "libraries": [
    {
      "library": "node_modules/ace-builds/css/",
      "destination": "wwwroot/css/ace",
      "files": [ "*.png", "*.svg"  ]
    },
    {
      "library": "node_modules/devextreme-dist/css/icons/",
      "destination": "wwwroot/css/icons/",
      "files": [
        "dxicons.ttf",
        "dxicons.woff",
        "dxicons.woff2"
      ]
    }
  ]
}
Step 4. Add Data
Right-click the project in the Solution Explorer and select Add | New Folder from the context menu. Rename the created folder to Data and create the Dashboards folder inside it.
Copy the C:\Users\Public\Documents\DevExpress Demos 23.2\Components\Data\nwind.xml file to the project’s Data folder.
Open the appsettings.json file, create the ConnectionStrings object, and add the nwind connection string to register the data connection:
{
  "ConnectionStrings": {
    "nwind": "XpoProvider=InMemoryDataStore;Read Only=true;Data Source=Data\\nwind.xml;"
  },
  ...
}
Step 5. Add and Configure the Web Dashboard Control
Create a new folder named Controllers in the root directory, and create an empty MVC Controller named DefaultDashboardController inside the folder. Inherit the DashboardController class:
using DevExpress.DashboardAspNetCore;
using DevExpress.DashboardWeb;
using Microsoft.AspNetCore.DataProtection;

namespace WebDashboardAspNetCore.Controllers {
    public class DefaultDashboardController : DashboardController {
        public DefaultDashboardController(DashboardConfigurator configurator, IDataProtectionProvider? dataProtectionProvider = null)
            : base(configurator, dataProtectionProvider) {
        }
    }
}
Open the Program.cs file and replace its content. The controllerName parameter in the RouteBuilderExtension.MapDashboardRoute method is the name of the controller you created in the previous step (without Controller postfix):
using DevExpress.AspNetCore;
using DevExpress.DashboardAspNetCore;
using DevExpress.DashboardWeb;
using Microsoft.Extensions.FileProviders;

var builder = WebApplication.CreateBuilder(args);

IFileProvider? fileProvider = builder.Environment.ContentRootFileProvider;
IConfiguration? configuration = builder.Configuration;

// Add services to the container.
builder.Services.AddRazorPages();

builder.Services.AddDevExpressControls();
builder.Services.AddScoped<DashboardConfigurator>((IServiceProvider serviceProvider) => {
    DashboardConfigurator configurator = new DashboardConfigurator();
    configurator.SetDashboardStorage(new DashboardFileStorage(fileProvider.GetFileInfo("Data/Dashboards").PhysicalPath));
    configurator.SetConnectionStringsProvider(new DashboardConnectionStringsProvider(configuration));
    return configurator;
});

var app = builder.Build();

// Configure the HTTP request pipeline.
if (!app.Environment.IsDevelopment())
{
    app.UseExceptionHandler("/Error");
    // The default HSTS value is 30 days. You may want to change this for production scenarios, see https://aka.ms/aspnetcore-hsts.
    app.UseHsts();
}

app.UseHttpsRedirection();
app.UseStaticFiles();

app.UseDevExpressControls();
app.MapDashboardRoute("api/dashboard", "DefaultDashboard");

app.UseRouting();

app.UseAuthorization();

app.MapRazorPages();

app.Run();
Open the Index.cshtml file and replace its content with the code below. The ControllerName property value is the name of the controller you created earlier (without Controller postfix):
@page

@{
    Layout = null;
}
<!-- Add the following namespace usages: -->
@using DevExpress.AspNetCore
@using DevExpress.DashboardWeb
@using DevExpress.DashboardAspNetCore

<!DOCTYPE html>
<html lang="en">
<head>
    <!-- Add bundled resources. -->
    <link href="~/css/site.min.css" rel="stylesheet" />
    <link href="~/css/ace/ace.bundle.css" rel="stylesheet" />
    <script src="~/js/site.min.js"></script>
</head>
<body>
    <!-- Add the Web Dashboard with the "clientDashboardControl1" name to a View, specify its size, and set the Working Mode to Designer. -->
    <div style="position: absolute; left:0;top:0;right:0;bottom:0;">
        @(Html.DevExpress().Dashboard("clientDashboardControl1")
            .ControllerName("DefaultDashboard")
            .WorkingMode(WorkingMode.Designer)
            .Width("100%")
            .Height("100%")
        )
    </div>
</body>
</html>
Step 6. Create a Dashboard
The designer application is now ready. Build and run the project.
Your application should look as follows:
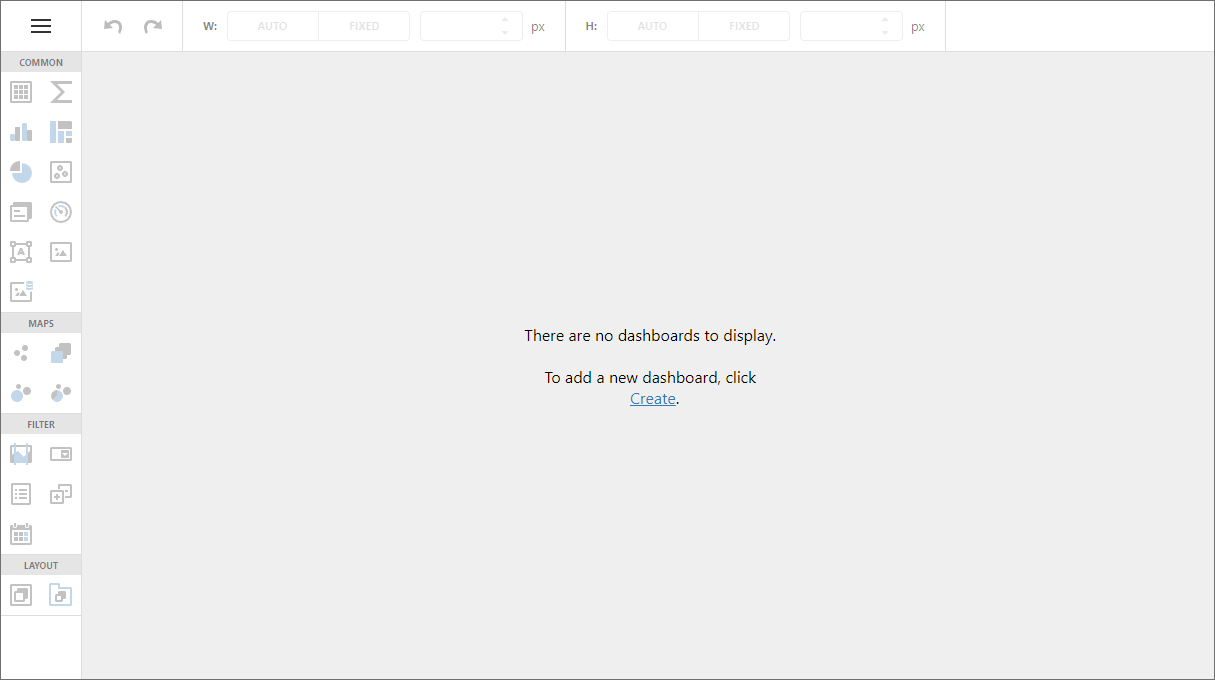
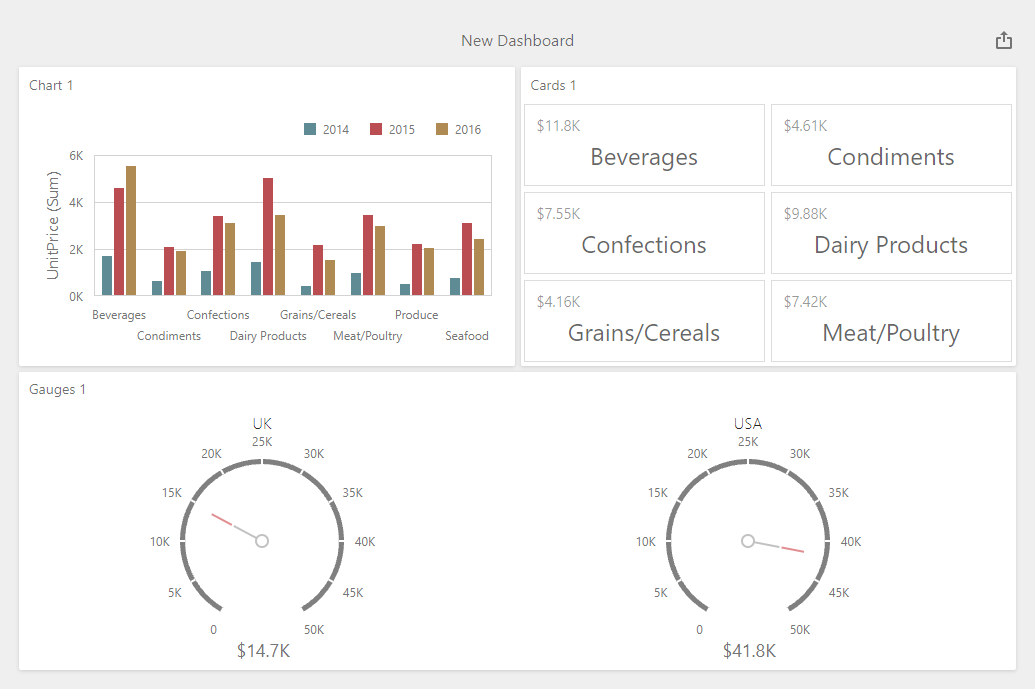
You can now create your first dashboard in the Web Dashboard.
Step 7. Switch to Viewer Mode
In Designer mode, the control loads the extensions required to design dashboards. Users can access the Data Source Wizard, preview underlying data, and modify dashboards from storage. Requests from the dashboard backend server can be sent to third-party resources. A user can also switch the control to Viewer mode.
After you created and saved a dashboard, switch your Dashboard Designer application to ViewerOnly mode to prevent users from modifying the dashboard and its data.
In a project, open the Views | Home | Index.cshtml file. Update the BuilderFactory.Dashboard helper method’s code as follows:
@(Html.DevExpress().Dashboard("clientDashboardControl1")
    .ControllerName("DefaultDashboard")
    .WorkingMode(WorkingMode.ViewerOnly)
    .Width("100%")
    .Height("100%")
)
Warning
Working mode does not influence server settings. Initially, the server works at the ClientTrustLevel.Full trust level. Verify trust level and specify the actions a client can initiate on the server. See the following topic for details: Working Mode Access Rights.
Run the application. The ASP.NET Core Dashboard control displays the dashboard from ~/Data/Dashboards in Viewer mode.
Restrictions and Limitations
The ASP.NET Core Dashboard control has the following limitations:
- OLAP mode supports the ADOMD.NET data provider from v21.1.4. You can change the data provider type in the DashboardOlapDataSource.OlapDataProvider static property.
- If you use the ASP.NET Core Dashboard control for non-Windows platforms, you need to configure the control additionally. More information: Linux and MacOS Specifics.
Next Steps
- Create Dashboards on the Web
- Describes how to create and configure dashboards in the Web Dashboard control.
- ASP.NET Core Dashboard Control
- Includes instructions on how to integrate the Dashboard control into an ASP.NET Core application.