Layout
- 2 minutes to read
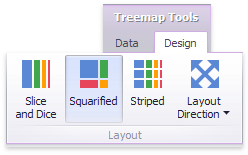
This topic describes how to change a layout algorithm used to arrange Treemap tiles. To do this in the Designer, use buttons from the Layout group on the Design ribbon tab of the Treemap Tools contextual tab set.
The following algorithms are available.
| Algorithm | Example | Description |
|---|---|---|
| Slice and Dice |  |
This layout algorithm divides the space between items, slicing it in the specified direction depending on item value. |
| Squarified | 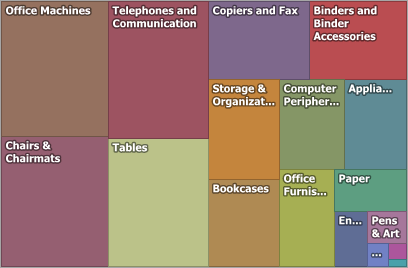 |
The Squarified algorithm arranges tiles so that their width/height ratio will be closer to 1. |
| Striped | 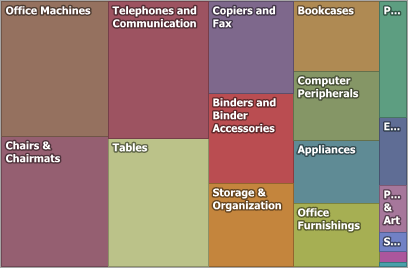 |
This algorithm is a modified version of the Squarified algorithm. The difference here is that tiles are drawn side by side as columns or rows. |
You can also set a layout direction to specify an arrangement of tiles depending on their sizes. To do this, click the Layout Direction button and select the required direction.
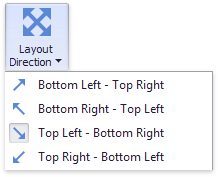
- Bottom Left - Top Right - Arrange tiles from the bottom-left to the top-right corner.
- Bottom Right - Top Left - Arrange tiles from the bottom-right to the top-left corner.
- Top Left - Bottom Right - Arrange tiles from the top-left to the bottom-right corner.
- Top Right - Bottom Left - Arrange tiles from the top-right to the bottom-left corner.
To specify the layout algorithm/direction in code, use the following members.
| API | Description |
|---|---|
| TreemapDashboardItem.LayoutAlgorithm | Gets or sets a layout algorithm used to arrange tiles of a TreemapDashboardItem. |
| TreemapDashboardItem.LayoutDirection | Gets or sets a layout direction used to arrange tiles of TreemapDashboardItem. |