Create an ASP.NET Web Forms Dashboard Application
- 3 minutes to read
This tutorial shows how to create the dashboard web application using the ASPxDashboard control.
Steps 1-3. Add the Web Dashboard Control
- In Visual Studio, create a new project and select ASP.NET Web Application (.NET Framework) on the start page as the project template. Next, select the Empty template and click OK.
Add a new Web Form to the application. To do this, right-click the project in the Solution Explorer and select Add | Web Form.
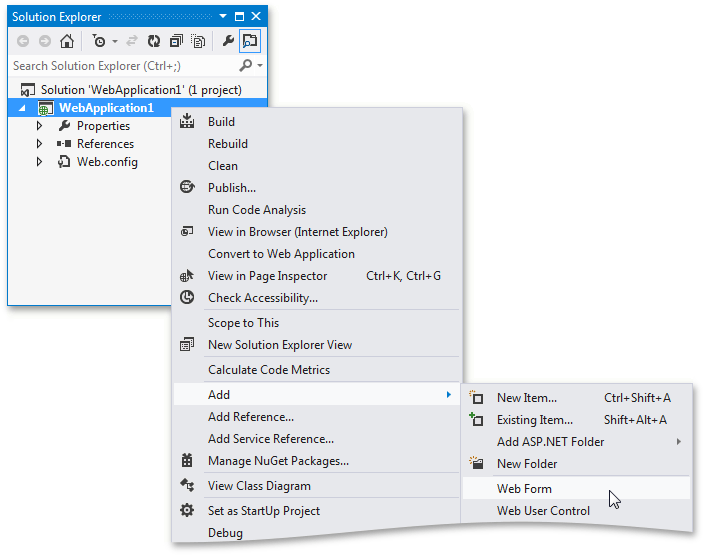
Leave the default ‘WebForm1’ item name and click OK in the invoked dialog.
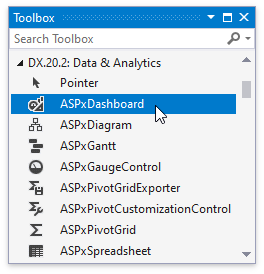
Drag the ASPxDashboard control from the DX.20.2: Data & Analytics Toolbox tab and drop it onto the page.
Switch the web page to the Design view.
Steps 4-5. Create Dashboard Storage
- Right-click the project in the Solution Explorer and select Add | Add ASP.NET Folder | App_Data from the context menu. Then, add the Dashboards folder inside App_Data.
Click the control’s smart tag and set Dashboard Storage Folder to the following relative path: ~/App_Data/Dashboards.
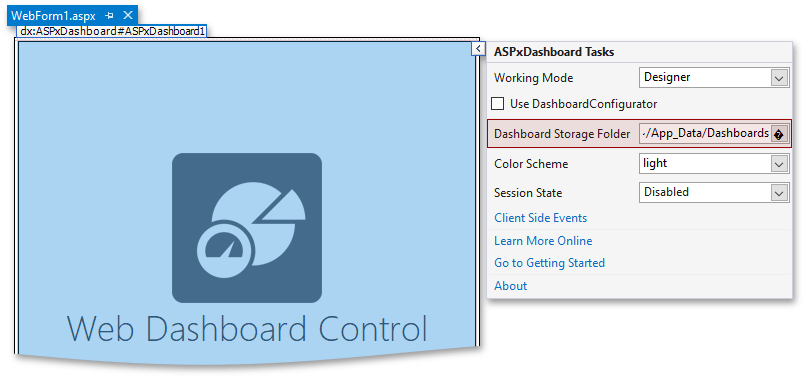
This folder contains the saved dashboards’ XML definitions.
Steps 6-8. Provide Data
Right-click the App_Data folder, select Add | Existing Item and locate the nwind.mdb database using the following path:
C:\Users\Public\Documents\DevExpress Demos 20.2\Components\Data\nwind.mdb
Specify a connection string to the added database within the project’s Web.config file as shown below.
<configuration>
  <connectionStrings>
      <add name="nwindConnection" connectionString="XpoProvider=MSAccess; Provider=Microsoft.Jet.OLEDB.4.0; Data Source=|DataDirectory|\nwind.mdb;" />
  </connectionStrings>
</configuration>
Note
Note that the connection string should contain the XpoProvider parameter that depends on the used database type. For details on how to specify connection strings for different database types, see Register Default Data Connections.
In the Page_Load method of WebForm1.aspx.cs, pass the ConfigFileConnectionStringsProvider instance as the SetConnectionStringsProvider method’s parameter to to allow creating new data sources based on connection strings from the Web.config file:
Step 9. Add Required Client Libraries
In the web application’s Web.Config file, go to the DevExpress section and add the “resources” section as shown below.
<devExpress>
    <!-- ... -->
    <resources>
        <add type="ThirdParty" />
        <add type="DevExtreme" />
    </resources>
</devExpress>
This adds the required client libraries to the project, such as jquery, jquery-ui, knockout and globalize.
Note
The basic cldr content needed for the Web Dashboard is included in the library. However, for locales other than “en” (or currencies other than “USD”), cldr content should be loaded additionally (read more in the Globalize documentation).
Steps 10-11. Create a Dashboard
The designer application is now ready. Build and run the project.

Your application should look as follows:
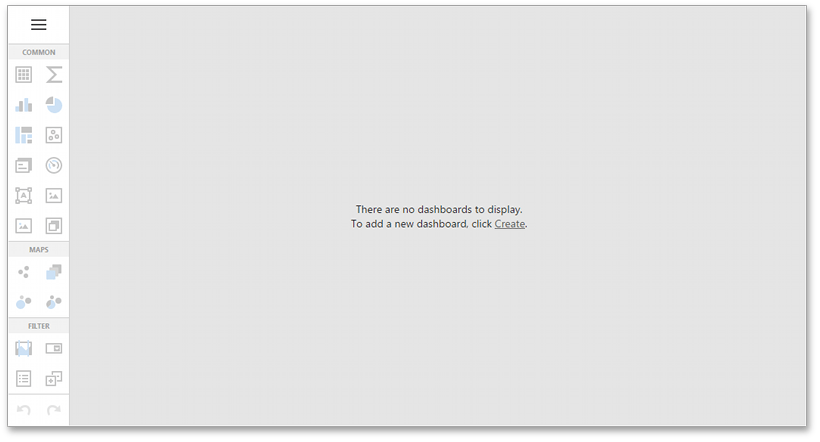
For instructions on how to create your first dashboard in the Web Designer, go to Create a Dashboard using the Web Dashboard.
Steps 12-14. Switch to Viewer Mode
Once you create and save a dashboard, you can switch your Dashboard Designer application to Viewer mode.
- In the project, switch to WebForm1.aspx and click the control’s smart tag.
Set the Working Mode option to the ‘ViewerOnly’.

- Run the application. The ASPxDashboard control displays the dashboard from ~/App_Data/Dashboards.
Next Steps
-
Describes how to create and configure dashboards in the Web Dashboard control.
ASP.NET Web Forms Dashboard Control
Shows how to embed the ASPxDashboard control into an ASP.NET Web Forms application.