How to: Move CodeRush Settings to Another Machine
- 2 minutes to read
When you move to a new PC, you do not want to recreate CodeRush settings. CodeRush allows you to migrate your settings to a new PC.
Follow the steps below to migrate your settings:
Open Visual Studio.
In Visual Studio’s menu, select CodeRush | Support | Import and Export Settings….

Note
In Visual Studio 2019, CodeRush menu is placed into a new location - in Visual Studio Extensions menu. You can reposition the CodeRush menu back to the top level of the Visual Studio menu bar in Visual Studio 2019 version 16.4 or later. See the following topic for more information: First Steps.
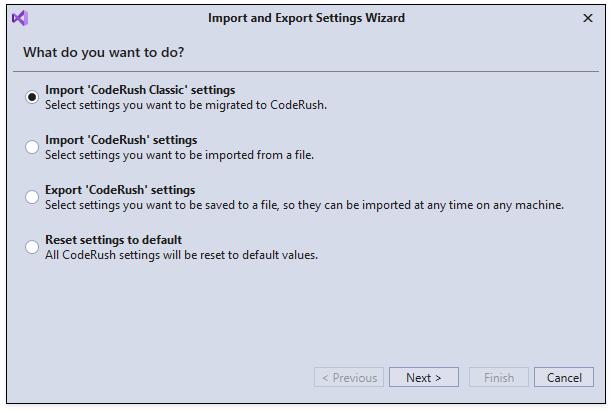
In the invoked wizard, select the Export ‘CodeRush’ settings item and click Next.

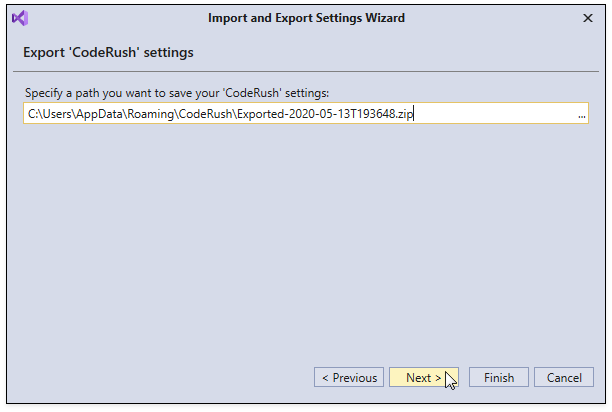
Specify a path to an archive where you want to save CodeRush settings and click Next to proceed.
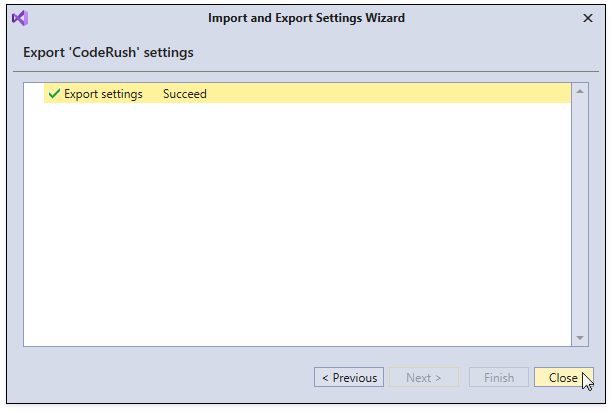
Close the wizard.
Copy the saved archive to a new machine.
Open the Import and Export Settings Wizard dialog on a new machine.
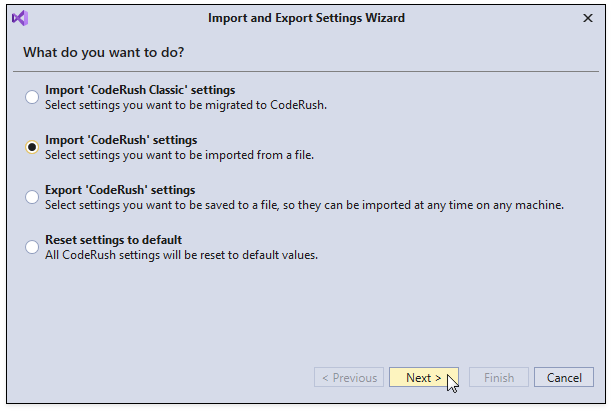
Select the Import ‘CodeRush’ settings item and click Next.
Specify a path to the archive with exported settings.
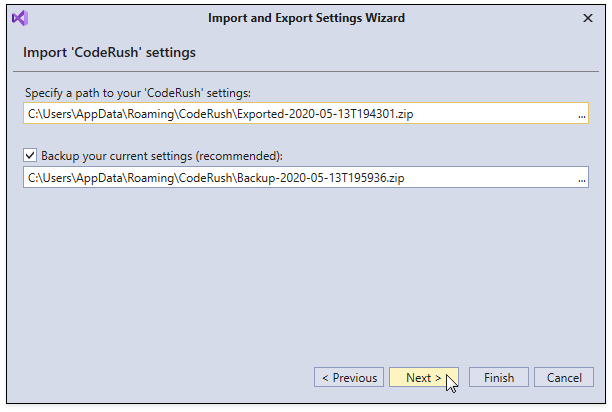
Note
The wizard backs up the current settings, and you can use this backup to restore your CodeRush settings. This step allows you to change the target path or disable the backup (not recommended).
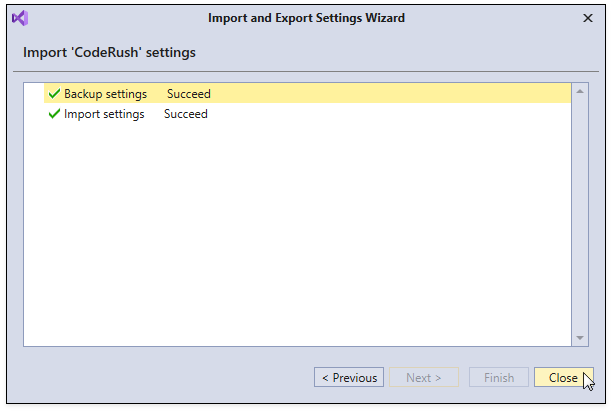
Wait until the settings are imported and close the wizard.
Note
CodeRush stores settings in Options Layers. The Import and Export Settings wizard exports/imports these settings to/from the Personal layer. If your settings are saved in the Solution Team or Solution Personal layer, check that settings files are stored in a repository or copy the “{Your Solution File Directory}.cr” folder to a new PC.