Upgrade to a New Version
- 2 minutes to read
After you install a newer version of DevExtreme, you need to upgrade the DevExtreme resources in your project. You can do this in two ways: using a menu command in Visual Studio or manually.
Use the Upgrade DevExtreme Resources Menu Command
Follow the instructions below to upgrade the resources:
Launch Visual Studio and open the project with DevExtreme resources that should be upgraded.
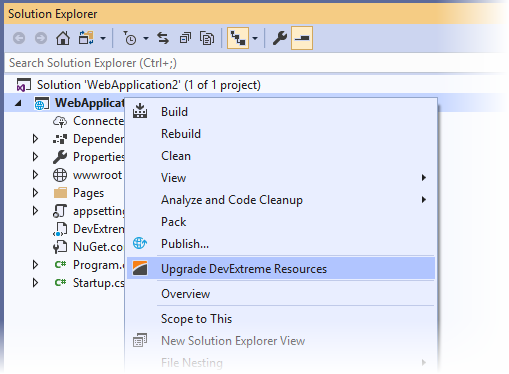
Right-click this project in the Solution Explorer window and select Upgrade DevExtreme Resources in the menu.
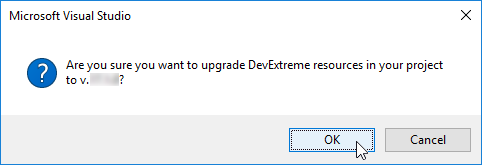
Click OK in the invoked dialog.
Wait a few seconds while DevExtreme resources are upgraded. This process is displayed in the Output window.

Manually
Follow the instructions below to upgrade the resources.
Update server-side packages:
- DevExtreme.AspNet.Data
- DevExtreme.AspNet.Core
You can do this in two ways:
Use the NuGet dialog. Refer to Configure a non Visual Studio Project (Steps 2 and 3) for more information.
Edit packages’ versions in the .csproj file:
<ItemGroup>
    ...
    <PackageReference Include="DevExtreme.AspNet.Data" Version="..." />
    <PackageReference Include="DevExtreme.AspNet.Core" Version="..." />
</ItemGroup>
Update client-side resources: DevExtreme scripts (dx.*.js) and CSS files (dx.*.css).
You can do this in different ways:
- Use LibMan.
- Use npm or Yarn.
- Use CDN Services.
- Replace older files with the latest version. You can find the new files in the Program Files (x86)/DevExpress 19.1/DevExtreme/Sources/Lib directory.
The scripts and CSS files are typically linked in the _Layout.cshtml or bundleconfig.json file.