Installation
- 3 minutes to read
DevExpress provides a solution for SharePoint (SharePoint 2013 and SharePoint 2016) that implements wrappers for ASPxGridView and ASPxHtmlEditor controls. Once it is installed in the SharePoint environment, it registers all required assembly files, and provides a SharePoint portal with a set of Web Parts and Site Features. See the Solutions Overview topic in MSDN for more information on SharePoint solutions.
Note
“Versions v13.1 (v2013 vol 1) to v16.2 (v2016 vol 2) of DevExpress ASP.NET controls only support SharePoint 2013.
Starting with DXperience v17.1 (v2017 vol.1), SharePoint 2013 and SharePoint 2016 are supported.
This document describes how to install a DevExpress solution on a SharePoint server or development machine containing a SharePoint product. You can install DevExpress Web Parts automatically or manually.
Automatic Installation
To install the DevExpress solution for SharePoint automatically, use the DevExpress ASP.NET SharePoint Register tool that ships with DevExpress ASP.NET installation.
Note
The ASP.NET SharePoint Register tool can only run on a machine with SharePoint installation.
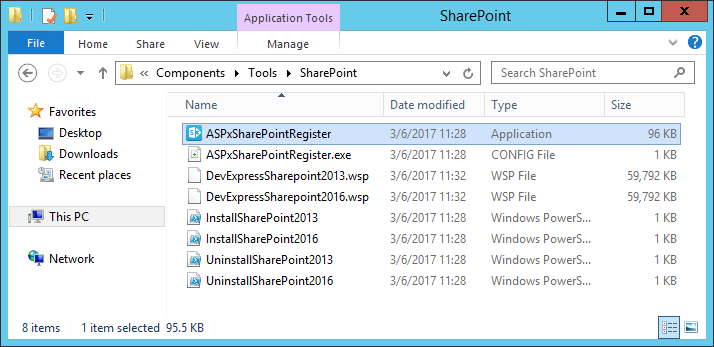
To use this tool, copy the “SharePoint” folder (located in the <Installation Root Directory>\Tools\ path) from your computer to the machine on which the SharePoint product is installed, and run the ASPxSharePointRegister.exe file from the copied folder.
In the invoked dialog, specify the SharePoint portal URL.

Click the Register button to install DevExpress Web Parts for SharePoint to the specified portal on this machine. The registration tool automatically identifies the SharePoint product version (e.g., SharePoint 2016), and installs the corresponding set of Site Features. The Unregister button allows you to remove previously registered assemblies. Note that you are required to reset the IIS server after the solution is installed and activated.
After installation, navigate to the Site Actions -> Site Settings -> Manage Site Features menu to enable DevExpress features and embed these Web Parts as required.

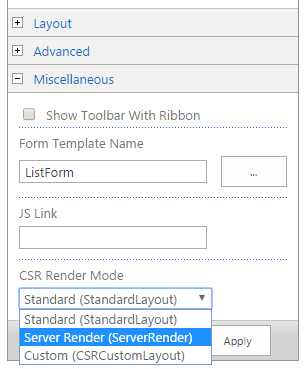
Starting with SharePoint 2013, to replace the default HTML editor for list items with ASPxHtmlEditor in default forms, you need to change their render mode to Server Render, using the Server Render option in the web part toolpane (see the image below). This can be done in the browser UI, within the SharePoint Designer, or in code (server object model, CSOM, powershell, etc.). To edit a form using the browser UI, open the form, click Settings  and select the Edit page option from the dropdown menu. Choose Edit web part from the web part menu. In the web part options pane, choose Standard (StandardLayout) from the CSR Render Mode combo box in the Miscellaneous options group.
Manual Installation
If Windows SharePoint Products and Technologies are hosted by a third-party company, and you do not have access to the system, contact your system administrator and provide the appropriate solution (.wsp) file. The following solution files are available.
DevExpressSharepoint2013.wsp
Use this file where SharePoint 2013 is installed.
DevExpressSharepoint2016.wsp
Use this file where SharePoint 2016 is installed.
Select the file based on the SharePoint version to install DevExpress SharePoint Solutions and register the required DevExpress assemblies in the GAC.