How to: Generate Persistent Objects for Existing Data Tables
- 5 minutes to read
The eXpress Persistent Objects library provides a design-time wizard that allows you to generate persistent objects for one or more data tables in your database. Only specify connection settings to the database, and select target tables and columns. The wizard will automatically generate persistent objects for the selected tables.
Note
Data tables whose primary keys are composed of several columns are not supported by XPO. The wizard will not process these tables.
Generating Persistent Objects
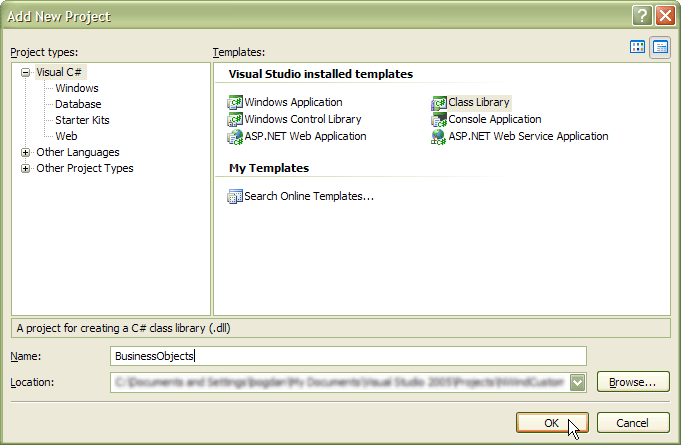
In the Solution Explorer, add a new project to the solution.
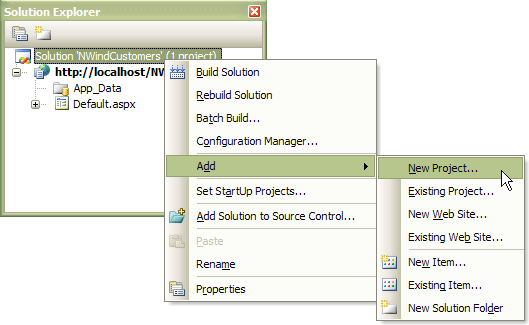
Name is ‘BusinessObjects’.
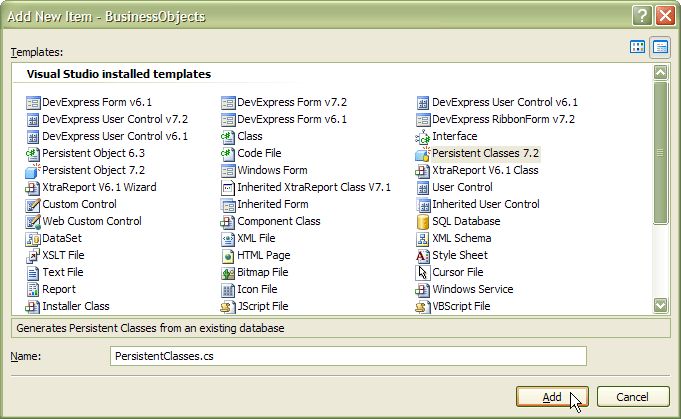
Select the Add->New Item… context menu option.
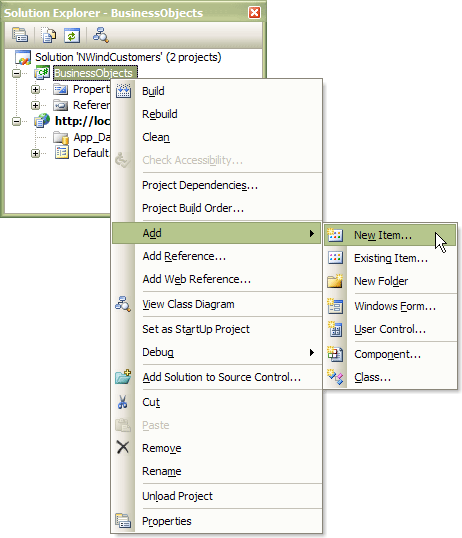
Select the Persistent Classes item in the dialog window and click Add.
The wizard will open and ask you to specify connection settings to the database containing the target data table(s).
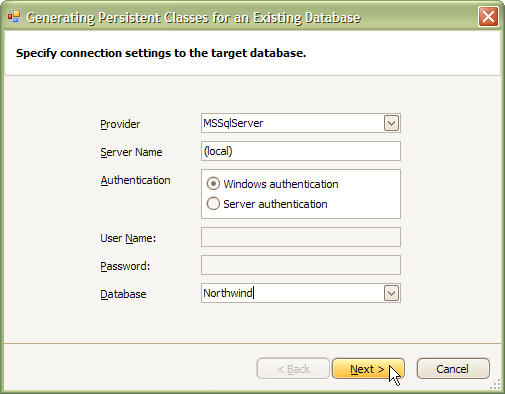
The wizard displays all database engines supported by XPO. Use the Provider combo box to select the required database type. Note that the corresponding database provider assembly must be registered in the Global Assembly Cache (GAC) on your machine or the wizard will fail.
Click Next after connection settings have been specified.
In the next step, the wizard displays a list of tables that can be mapped to persistent objects. A table whose primary key is composed of several columns will be unavailable for selection.

Select a table(s) to be mapped to a persistent object(s), and for each table select columns that will be mapped to the persistent object’s properties. For unchecked columns, persistent properties will not be generated.
The names of persistent classes and their properties will match the names of selected tables and their columns. To rename the classes and properties, use the Rename buttons in the Tables and Columns panes. The classes and properties with modified names will still be mapped to corresponding tables and columns using the PersistentAttribute attribute.
Click Finish to close the wizard and generate the persistent classes. Below is a code snippet of such a class.
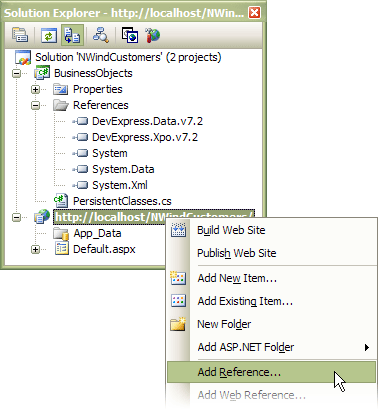
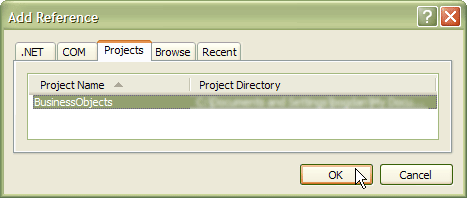
using System; using DevExpress.Xpo; namespace Northwind { public class Customers : XPLiteObject { string fCustomerID; [Key] [Size(5)] public string CustomerID { get { return fCustomerID; } set { SetPropertyValue<string>("CustomerID", ref fCustomerID, value); } } string fCompanyName; [Size(40)] public string CompanyName { get { return fCompanyName; } set { SetPropertyValue<string>("CompanyName", ref fCompanyName, value); } } string fContactName; [Size(30)] public string ContactName { get { return fContactName; } set { SetPropertyValue<string>("ContactName", ref fContactName, value); } } string fContactTitle; [Size(30)] public string ContactTitle { get { return fContactTitle; } set { SetPropertyValue<string>("ContactTitle", ref fContactTitle, value); } } // ... } }Add a reference to the BusinessObjects project and rebuild the solution.
Binding ASPxGridView
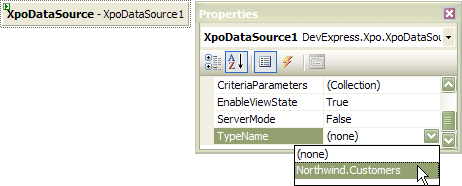
Drop the XpoDataSource component on the Page and specify its TypeName property.
Connect XPO to your database server. To do this, handle the Application_Start event in the Global.asax module of your website to create an IDataLayer object. We suggest that you use the ThreadSafeDataLayer in ASP.NET applications.
void Application_Start(object sender, EventArgs e) { // It's supposed that you've already created the NWind database within the App_Data folder. string conn = DevExpress.Xpo.DB.AccessConnectionProvider.GetConnectionString( Server.MapPath("~\\App_Data\\nwind.mdb")); DevExpress.Xpo.Metadata.XPDictionary dict = new DevExpress.Xpo.Metadata.ReflectionDictionary(); // Initialize the XPO dictionary. dict.GetDataStoreSchema(typeof(Northwind.Customers).Assembly); DevExpress.Xpo.DB.IDataStore store = DevExpress.Xpo.XpoDefault.GetConnectionProvider(conn, DevExpress.Xpo.DB.AutoCreateOption.SchemaAlreadyExists); DevExpress.Xpo.XpoDefault.DataLayer = new DevExpress.Xpo.ThreadSafeDataLayer(dict, store); DevExpress.Xpo.XpoDefault.Session = null; }Handle the Web form’s Init event to create a Session for the XpoDataSource component. The session must be linked to your DataLayer.
We recommend that you create an XPO Session for each request. To do this, create a new session for each page and dispose of it by overriding the Page.Render method.
- Drop the ASPxGridView control on the Page and bind it to XpoDataSource.
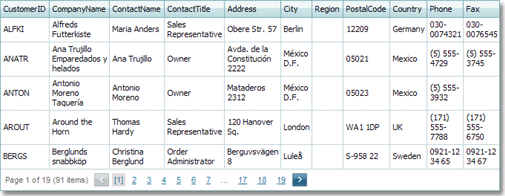
Results
Run the application. The image below shows the result.