Lesson 1 - Add the Query Builder to a Project
- 5 minutes to read
This lesson illustrates how to create a new ASP.NET MVC application in Microsoft Visual Studio and add a Query Builder control to it.
Create a New Application
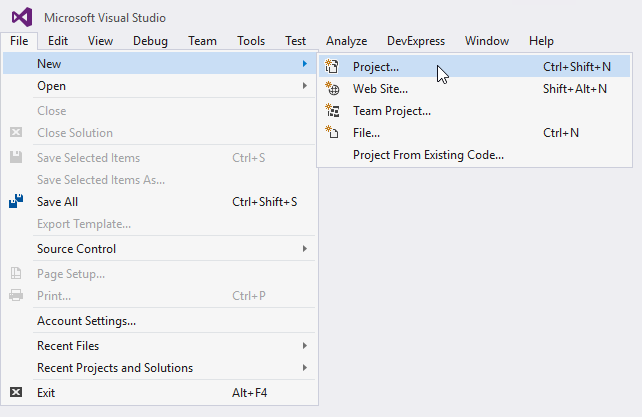
Create a new project by selecting FILE | New | Project… in the main menu or by pressing CTRL+SHIFT+N.
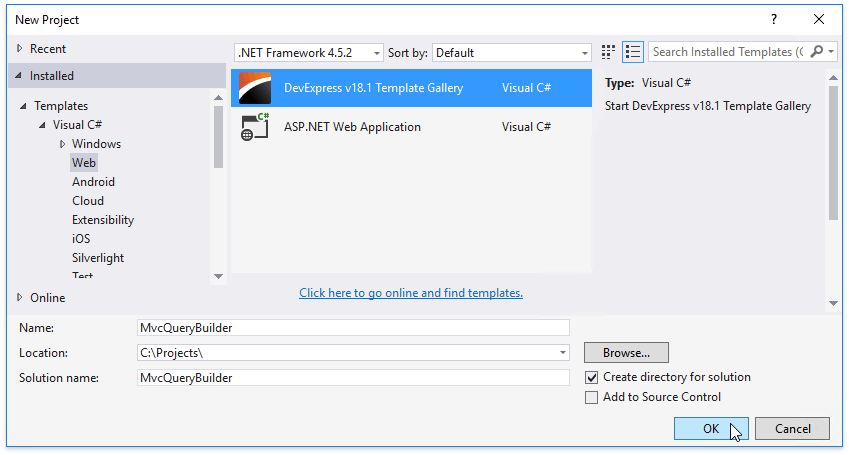
In the invoked New Project dialog, expand the Installed category, select a programming language (Visual C# or Visual Basic) in the Templates section and select the DevExpress v18.2 Template Gallery. Specify the application’s name and click OK.
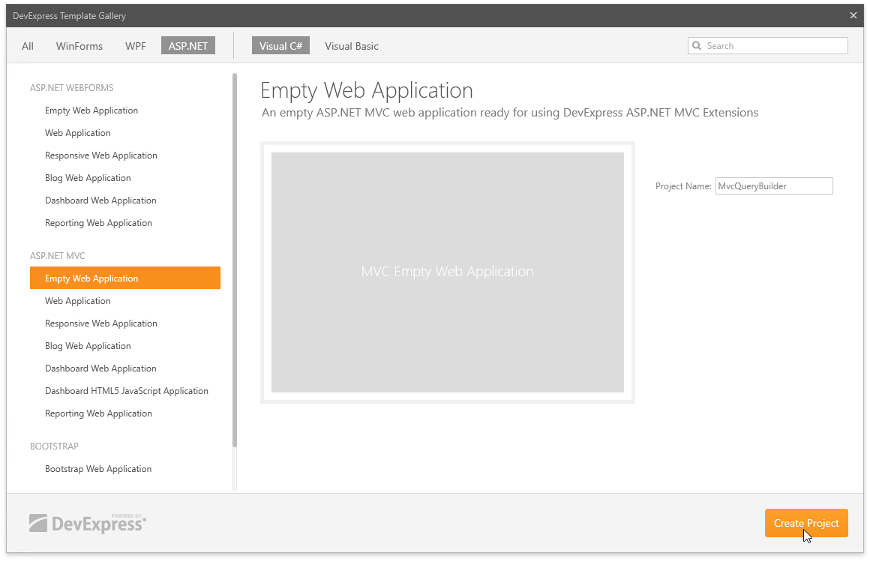
In the invoked DevExpress Template Gallery, select Empty Web Application under the ASP.NET MVC category and click Create Project.
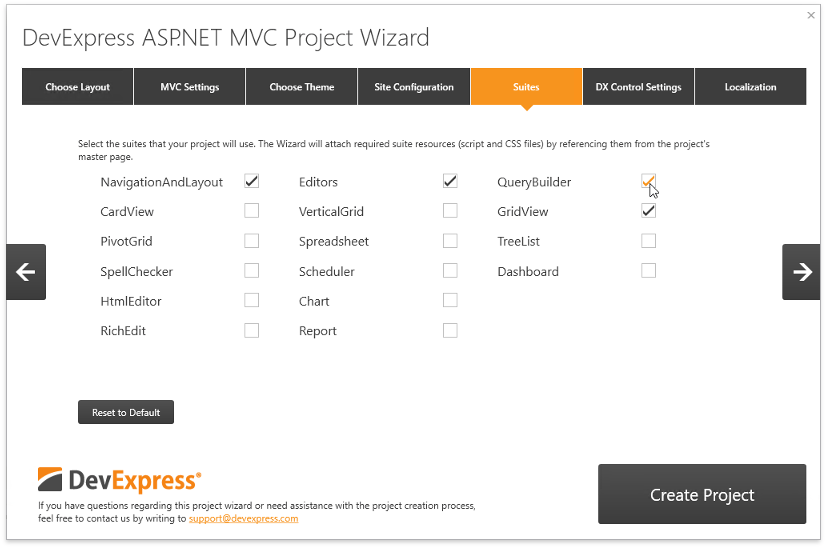
Leave the default settings on the DevExpress ASP.NET MVC Project Wizard‘s first page. Switch to the Suites page, enable the Query Builder suite and click Create Project.
This creates an application that can use DevExpress ASP.NET MVC Extensions and registers the sheet and script extensions the Query Builder requires in the _Layout.cshtml file.
@Html.DevExpress().GetStyleSheets(
    ...
    new StyleSheet { ExtensionSuite = ExtensionSuite.QueryBuilder }
)
@Html.DevExpress().GetScripts(
    ...
    new Script { ExtensionSuite = ExtensionSuite.QueryBuilder }
)
Add a Query Builder
Insert the QueryBuilder MVC extension in one of the following ways:
Use the DevExpress MVC Extension Wizard
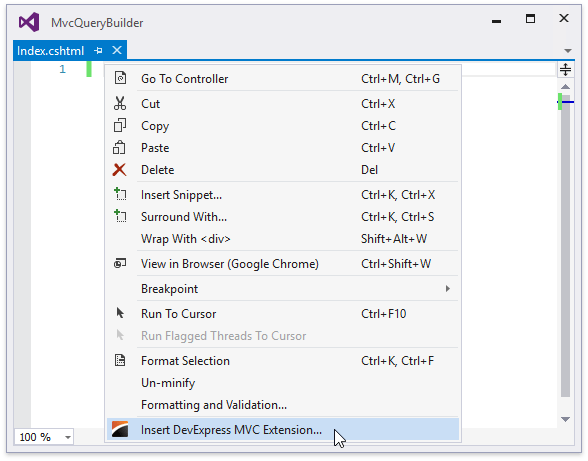
Open the required View file (for instance, Index.cshtml), right-click anywhere in the view area and choose Insert DevExpress MVC Extension as shown below.
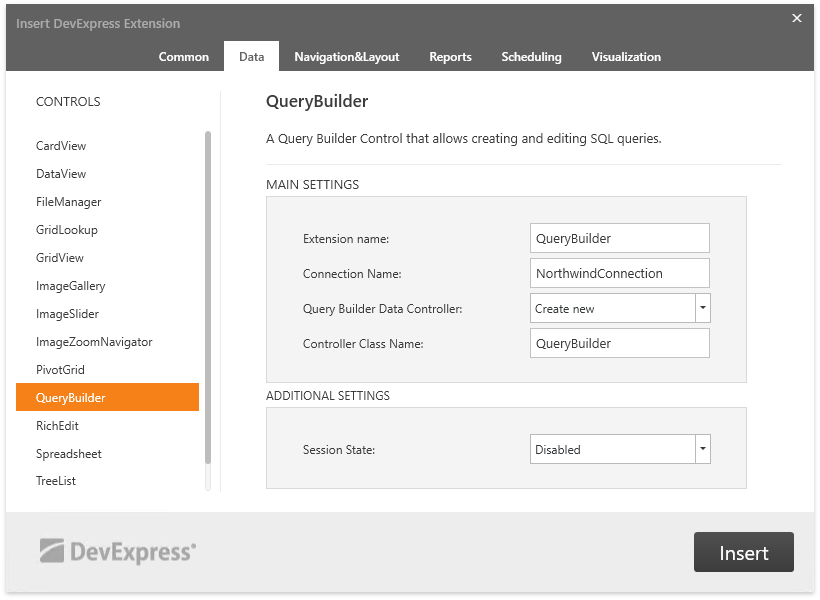
In the invoked Insert DevExpress Extension dialog, switch to the Data tab and select the QueryBuilder extension. Define the extension name, specify the connection name (this connection is created later in this tutorial) and select Create new for the Query Builder Controller.
Clicking the Insert button automatically generates the following View code:
@Html.DevExpress().QueryBuilder(settings => {
    settings.Name = "QueryBuilder";
    settings.RouteValues = new { Controller = "QueryBuilder", Action = "Invoke" };
}).Bind("NorthwindConnection").GetHtml()
Manually Register the Extension
Create a new controller by inheriting it from the QueryBuilderApiController class and declare an action method to process requests from the Query Builder.
public class QueryBuilderController : DevExpress.Web.Mvc.Controllers.QueryBuilderApiController { public override ActionResult Invoke() { return base.Invoke(); } }Open the View file (for instance, Index.cshtml) and use the ExtensionsFactory.QueryBuilder helper method that returns a QueryBuilderExtension object used to render the Query Builder. Pass the QueryBuilderSettings object as the helper method’s parameter to configure the Query Builder extension. Use the QueryBuilderExtension.Bind method to bind the Query Builder to the required data connection.
@Html.DevExpress().QueryBuilder(settings => {
    settings.Name = "QueryBuilder";
    settings.RouteValues = new { Controller = "QueryBuilder", Action = "Invoke" };
}).Bind("NorthwindConnection").GetHtml()
Note
The Query Builder also provides other Bind method overloads that allow connecting to data in different ways (for instance, using connection parameters).
Declare your database’s connection string in the Web.config file (with the name specified before) to provide the Query Builder with data.
<connectionStrings>
  <add name="NorthwindConnection" connectionString="data source=localhost;integrated security=SSPI;initial catalog=NORTHWND" providerName="System.Data.SqlClient" />
</connectionStrings>
For the Query Builder to work correctly, make sure that the Web.config file contains the following resources section to load all the necessary libraries automatically:
<devExpress>
    <!-- ... -->
    <resources>
        <add type="ThirdParty" />
        <add type="DevExtreme" />
    </resources>
</devExpress>
Alternatively, you can declare an empty resources section and attach all the required DevExtreme resources and third-party libraries as described in Embedding Third-Party Libraries.
Save Generated Queries
In the Query Builder extension’s declaration, use the QueryBuilderSettings.SaveCallbackRouteValues property to specify the names of the controller and action that handle callbacks for saving queries.
@Html.DevExpress().QueryBuilder(settings => {
    settings.Name = "QueryBuilder";
    settings.RouteValues = new { Controller = "QueryBuilder", Action = "Invoke" };
    settings.SaveCallbackRouteValues = new { Controller = "QueryBuilder", Action = "Save" };
}).Bind("NorthwindConnection").GetHtml()
Add a new Save action (specified in the View code above) to the Query Builder controller. Use the QueryBuilderExtension.GetSaveCallbackResult method to obtain the result object with the following properties:
- QueryBuilderSaveCallbackResult.ResultQuery - Returns a SelectQuery object storing a high-level query model.
- QueryBuilderSaveCallbackResult.SelectStatement - Returns a string specifying the final ‘SELECT’ statement.
using DevExpress.Web.Mvc;
using DevExpress.DataAccess.Sql;

public class QueryBuilderController : DevExpress.Web.Mvc.Controllers.QueryBuilderApiController {
    // ...
     public ActionResult Save() {
         var result = QueryBuilderExtension.GetSaveCallbackResult("QueryBuilder");
         SelectQuery query = result.ResultQuery;
         string selectStatement = result.SelectStatement;
         // ...
     }
}
Pass the next lesson to use the generated query to provide data to the Grid View. See the Saving Queries topic for more information about obtaining and processing queries.
View the Result
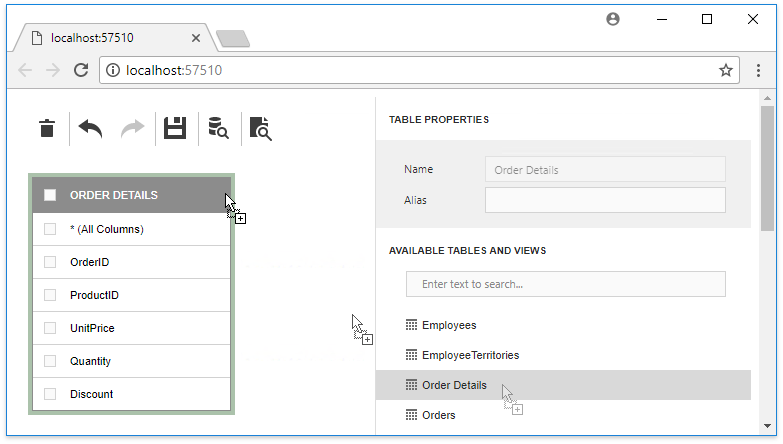
Run the application to view the result in a web browser. The Query Builder displays all the tables and views obtained from a database. You can drop the desired table from a table list on the design surface.
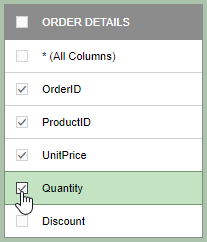
Enable check boxes of the table columns you want to include in the query result set.
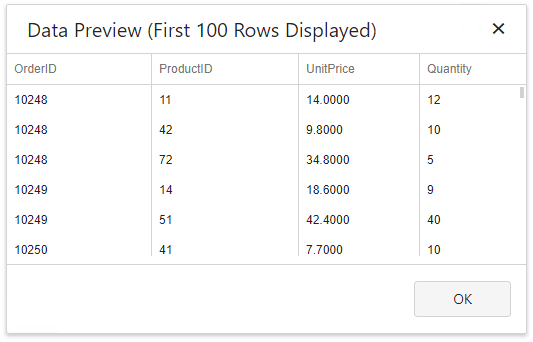
Click the Preview Results  toolbar button to display the query execution result in a tabular form.
Use the Save  toolbar button to save the constructed query.